

Last year the Christmas season was lit after hot chocolate bombs (HCB) went viral! I sold so many of these! They are some work but easy to make and I am sharing a tutorial here as well as a video on my Instagram and Tiktok!
Here’s what you’ll need:

- Silicone sphere mold (here is one from Amazon)
- Candy Melts (these are easier to use than chocolate because you don’t have to temper it and almond bark because they are made to melt!) I get mine from Hobby Lobby but you can use the Wilton’s or store brand version as well
- Vegetable oil – 1-2 tsp
- Plate
- Measuring cup or microwave safe dish to melt your chocolate
- Cocoa mix
- Marshmallows
- Sprinkles, candies, peppermints, sanding sugar or whatever you want to decorate your HCBs with
- Cupcake liners
- Plastic sandwich ziploc bag
- Scissors
- Cookie sheet
- Parchment paper (optional)
- Spoon
Start off by pouring your candy melts in a microwave safe bowl or cup and adding 1 tsp of vegetable oil. Mix and melt in microwave in 20 second intervals. You don’t want to melt it too fast or you will burn your chocolate. You want to mix after each interval. You may need to add an additional tsp of oil to get it to an easy to pour consistency. Once chocolate is melted set aside. You want the chocolate to have some time to cool down before pouring because you never want to pour hot chocolate it will mess up the look of your HCB.
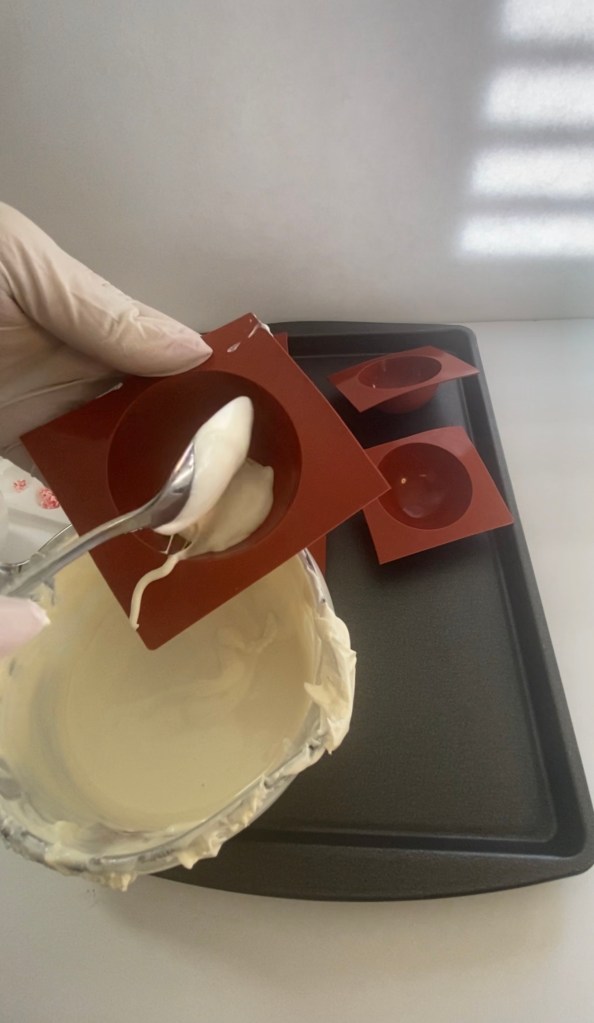
Cut your silicone mold into individual pieces and set on a cookie sheet. I actually use a 3 pc mold but I wanted to do the tutorial with the silicone molds since they are easier to get your hands on.
Once you have your individual pieces of mold cut, stir your chocolate and add a spoonful to the mold. Move the mold around until the chocolate covers every area. Pour excess chocolate back into the cup or bowl and scrape side of mold with a knife or small offset spatula. Repeat this process and the place molds in freezer for about 3-5 minutes until set. Remove from freezer and then let sit for 1-2 minutes at room temperature. Repeat process of adding chocolate so you have a stable shell to work with. Don’t worry about what it looks like inside, no one will see that!
Once you have your shells complete carefully remove them from the mold. This should be easy since we cut them in individual pieces. Place one half of the shell on a cupcake liner. Take a glass plate and place in microwave on 30 second intervals til hot (make sure you use a pot holder to remove!) I actually heat my plate on my gas stove because it’s quicker but be careful. You can also use a griddle if you are making a large batch. Put it on the lowest setting and add a sheet of parchment paper on top to cut down on clean up.
Now you can actually take both side of the shell and place them on the plate to get smooth seams but I forgot to do that in the video. I filled one half with cocoa, marshmallows, candies etc and set aside in the cupcake liner. I placed the other half of the shell on the plate until the side was melted and attached it to the shell in the cupcake liner. If you have gaps you can simply take your finger or a spatula and add melted excess chocolate from the plate to fill in (see video) but melting both sides (before you place one half in the cupcake liner and fill) to make them even will mostly avoid this and is easier! Don’t forget that like me!
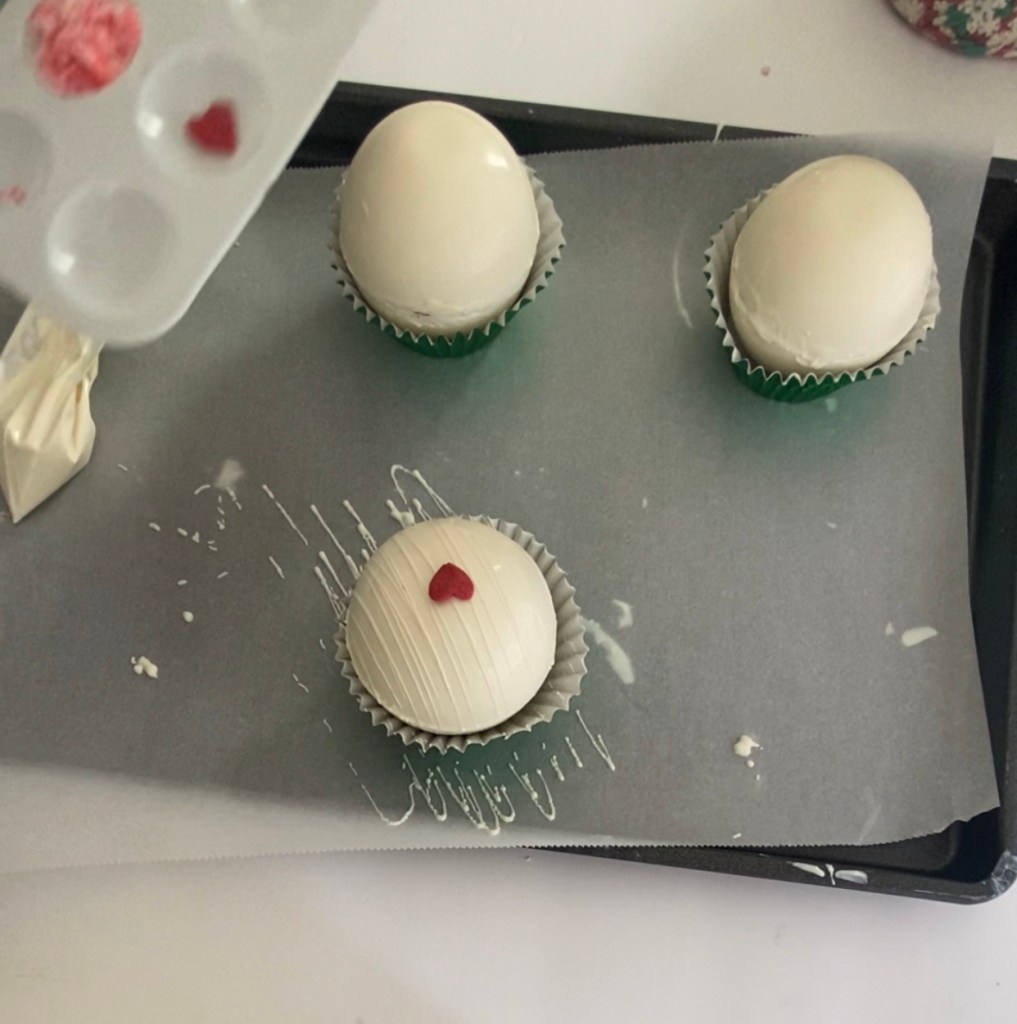
Once you have your bomb formed it’s time to decorate which is my favorite part! This is a great time to let the kids help and make it a family activity! I add chocolate to a ziplock bag and cut a tiny tip and drizzle on top. After you drizzle you can add sprinkles, candy canes, etc to decorate it’s up to you!
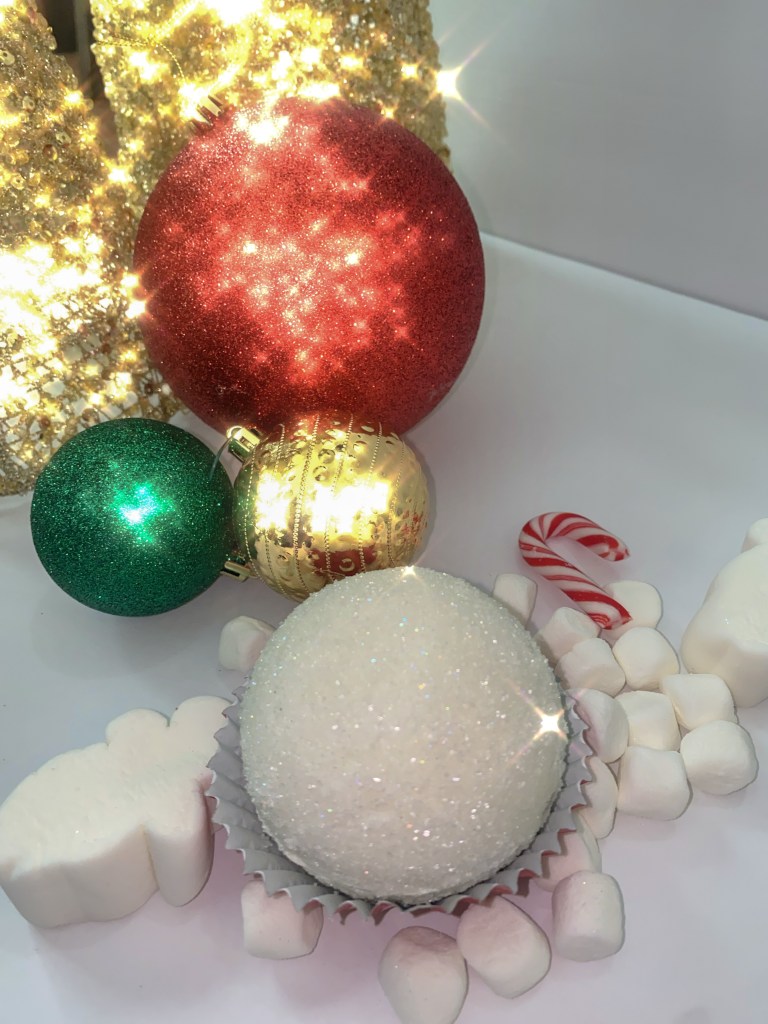
Once you have your bombs decorated you can place in a cupcake box and add candies or whatever and give as gifts. Or add to a hot chocolate station which I will be showing in an upcoming video. You enjoy these by adding to your favorite mug and pouring hot liquid (I prefer milk), stir until melted drink! I hope this tutorial was detailed enough and helpful. If you have questions please don’t hesitate to ask!
Love Ricki
