5 Reasons Why You Need a Meal Plan

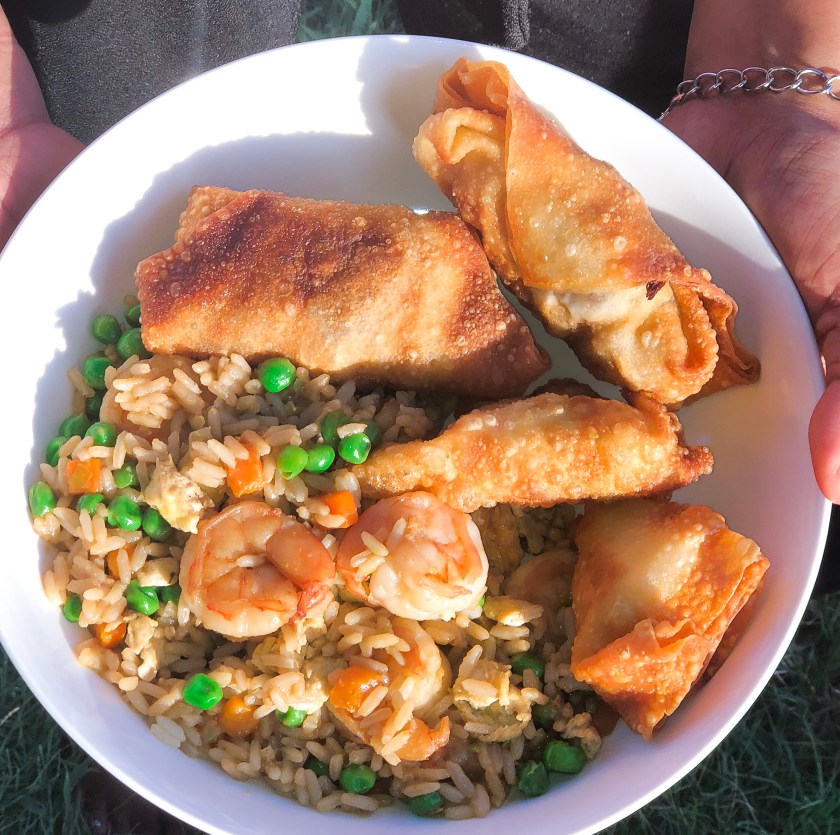
So for the past few weeks on my IG account (@severalpeoplesmama) I have been sharing my meal plans, how and why I meal plan and some of my family’s meals. It was only right I make a blog post about it so you (and I lol) could refer back to it. I even attached a meal planner I created to go along with the information I’ll share in this post. So let’s get started on the reasons why you NEED to meal plan and some tips on getting it done.

Why you need to meal plan:

  1. You eliminate stress and set yourself up for success.

img_3498

We have way too many other things to stress us everyday, don’t make what’s for dinner one of them. By taking a few minutes while watching TV you can create a plan to feed your  family and get rid of the most annoying question ever asked in adulthood, “What’s for dinner”. Take the pressure off yourself and plan ahead.

2. You save money. I don’t care if you shop the grocery sales or not, when you are prepared you save your coins. When you make a menu plan it keeps you from buying unnecessary items that may or may not get eaten and prevents you from wasting food. It also keeps you from eating out when you know you have a meal planned and ready to cook.

3. You make better choices. Like it or not we become what we eat. Fast food has become so convenient to get. We have Postmates & Doordash and other delivery services that make where we don’t even have to leave the house to get our fix.  However we all know eating those things day in and out will not just cause us to gain weight, it will KILL US (eventually). You are in control of your diet and meal planning is a tool you can use to make better and hopefully healthier meals for your family.

4. You encourage variety. When you take the time to plan your meals (and keep a record) you can really think about what you can prepare for you and your family. It will also keep you from making the same things over and over again. I also believe it’s important to write down meals so you can give your family an overview and make necessary changes.

5. Saves time. Time is the one thing we cannot get back and I personally have other things I could be doing than wasting my time in the kitchen or doing a last minute grocery run because I don’t have my shiggity together. Knowing what you’re going to cook let’s you know what you need to buy and prep ahead of time. Why wouldn’t you want to save yourself time to do some things YOU want to do?

Now that we know why we should meal here are a few tips to get you started.

  • Make two lists, one of every recipe you know how to make and then make a list of the things you already have in your freezer, fridge, pantry, etc.
  • Look at your schedule. You have to be available to cook the food you’re planning. If it’s going to be a busy evening then maybe plan for a crockpot meal. If you know you’ll have more time, like for me a Sunday afternoon, then plan a meal that may require more time or try a new recipe.
  • Grab your grocery sales ads and look at the “loss leaders” These are the items usually on super sale which grocery stores actually lose money on but they get you in the store. Those are the items you want to focus on adding to your menu plan that week, and it it’s a great sale buy at least 2, one for now and one for later.
  • Now it’s time to plan! Take your lists and use the menu planner I’ve created here to write out your plan for the week. If you need inspiration follow me on IG, click some popular hashtags like #dinnerinspiration or go to Pinterest and pin away! There are so many resources available to get it done!

I hope you enjoyed this post. Use the hashtag #cookyomeals on IG if you share your meal plan/meals/recipes or tag me! If you have questions, I’ll be happy to answer, comment below!

Do you need delicious but easy recipes that don’t use complicated ingredients? I got you – check out my cooking available for purchase here: https://payhip.com/b/WN19

Love, Ricki


Easy Shrimp Fried Rice

Shrimp fried rice is a favorite at my house and easy meal to whip up even on a weeknight. I wanted to share the recipe with y’all and a little tip I recently discovered. This recipe comes together quickly and uses basic ingredients but you can definitely turn it up a notch or two by adding specialty flavorings found at your local Asian market. Let’s cook!

Ingredients:

  • 1/4 cup of vegetable oil
  • 1 package of medium size shrimp, peeled and deveined. I used larger shrimp for this particular recipe because I was serving it as a main course instead of a side dish
  • 1/2 tsp of minced garlic
  • 1/4 cup of onions (I used a shortcut, a bag of frozen onions cause I was too lazy to chop veggies)
  • 2 cups cooked white rice
  • 2 eggs lightly beaten
  • 1 bag of frozen peas and carrots
  • Soy sauce
  • 1/2 tsb of sesame oil (this is optional but it gives it great flavor and is easy to find. I found mine in the Asian food section of Walmart)Ingredients

Directions

Began by heating the vegetable and sesame oil in a large skillet on medium high heat

Add the beaten eggs and lightly scramble. Then move eggs over to a cooler part of the pan.

Add frozen peas and carrots and sauté til warmed through. I also added the onion and garlic to the frozen veggies.

Add shrimp and cook. I seasoned my shrimp with a light sprinkle of soy and teriyaki sauce, garlic and onion powder and a dash of ground ginger and rice wine vinegar but season however you like just be careful with the soy sauce cause it will cause your dish to be salty and we will be adding some later.

After the shrimp are cooked thru add leftover COLD rice. This is the trick to good fried rice. Fresh or warm rice will just become mushy so this is the perfect recipe to use up those leftovers in the fridge. You can add whatever kind of frozen veggies you like and leftover chicken or make it strictly vegetarian. You can also make it low carb by using riced cauliflower just make sure it’s cold!

Now mix everything together and add soy sauce to taste. I usually only add a few dashes and let the kids add more if it isn’t enough for their taste buds.

Now you’re done and you have a very delicious meal or side dish and it’s easy, quick and budget friendly!

We like to eat ours with homemade egg rolls and this time we also added homemade crab rangoon.

Please let me know if you try this recipe and also what other recipes you’d like to see on the blog!!!

Love Ricki

Stuffed Chicken

Hey y’all this recipe is delicious but it is also special. A friend/co-worker shared this with me almost 10 years ago. She made it for our team at work and when I asked her how to make it she wrote out the recipe for me. Now you already know people don’t like to share their stuff sometimes but she did it with no problem and also gave me a cake recipe which I will be sharing with y’all in the future. But the real reason this recipe is so special is sadly my former coworker passed away in 2017. But she will live on in my heart and I think about her generosity every time I make it! I truly hope you make this and share with your friends and family because I know she would have wanted that.

Ingredients:

  • Chicken- Note: I normally use Chicken breast but they weren’t on sale (I feed six ppl who all eat like adults) so this was my very first time trying it with chicken thighs and I’ll never go back to breasts! I prefer boneless skinless but the bone is fine just pull off the skin.
  • Chopped onions, bell peppers and mushrooms
  • Olive oil
  • Seasonings of your choice
  • Dry ranch dressing seasoning
  • Worcestershire Sauce
  • Shredded Italian cheese mix
  • Frozen spinach, cook it in the microwave and squeeze out excess water
  • 8 oz block of cream cheese

Directions:

  • Sauté your onions, bell peppers and mushrooms in olive oil or butter

  • While your veggies soften mix up your cream cheese and spinach. If you forgot to take out your cream cheese earlier like me then pop it in the microwave for about 30 seconds or so with the spinach and that will make it soft and easy to mix.

  • Now add the softened veggies and cheese to the spinach and cream cheese and mix together. Add the dry ranch seasoning. Season to taste with your spices of choice. I used garlic powder, Tony’s, black pepper and onion powder.

  • Set your oven to 350 degrees and in a large frying pan on about medium high heat place in about 2 tablespoons of olive oil or oil of your choice.
  • Set your mixture aside and wash your chicken. Now I know washing chicken can be controversial but it’s what I do. Do what you do and we won’t have any issues.
  • Cut a small slit in your chicken. It doesn’t have to be real deep and PLEASE don’t cut yourself. You just want to make a pocket to put the stuffing in. Season your chicken.

  • Stuff your chicken with the mixture and then set aside until you’ve stuffed each one. Don’t try to overstuff because you will have stuffing left over. Don’t worry, my family doesn’t let me waste food so we will use it!

  • Now I place each piece in the pan to sear and brown. This sears in the juices and also I don’t like light chicken. It is just not appetizing. Put some brown on that chicken so I know it’s real!!!
  • Also don’t worry about the stuffing coming out. Just use your tongs and stick it back in. Or leave it out. I wouldn’t but you are an adult so you make that decision.

  • After you have browned the chicken place it in the baking pan. Pour the leftover stuffing over the chicken. Told you we would use it! Bake for about an hour. You may need more time if you used breasts as those are bigger pieces. I encourage you to try the thighs though because they were so juicy and tender! Chicken is done at 165 degrees but if your seasoned like me you know to just cut it open in the biggest part to check lol.

And you’re done!!! I served this with roasted potatoes and a salad but I just had the salad because I am not eating carbs (sad face). This dish is Keto and Low Carb friendy for all my people trying to lose weight in the new year like me! No judgment! I hope you try this and make sure you share this post so my friend’s generosity can live on thru her recipe.

Love Ricki

Mexican Stuffed Shells

Enjoy this easy and quick meal any day of the week!

So when I first shared this recipe on my Instagram stories (@rickiloves) a few weeks back it was going down in my DMs! Finally I was able to make it again so I can share it with you all! Please let me know if you make it and I hope you enjoy!

You’ll need:

Ground meat (I used about 2lbs)

Taco seasoning

Ranch dressing seasoning (not pictured)

Salsa or Picante Sauce (It’s a TX thing!)

Enchilada Sauce

1 block of cream cheese

Jumbo Shells

Colby Jack or Mexican Blend Shredded Cheese

Fixins (toppings like sour cream, guacamole, etc)

Directions:

  • Cook ground meat in a skillet and season with taco and ranch dressing seasonings while you boil the jumbo shells
  • Add block of cream cheese and mix thoroughly
  • After Shells have finished cooking drain, rinse with cold water and let cool.
  • Pour salsa or picante sauce in the bottom of a pan (I used the pan I make lasagna in) until the bottom is complete covered
  • Take cooled shells and stuff with ground beef mixture and add to pan over the salsa.
  • After the pan is filled pour can of enchilada sauce over the shells. Top with cheese.
  • Bake covered with foil in oven set on 350 degrees for 15-20 mins then remove foil and bake for another 5-10 minutes until cheese is melted thru.

I topped mine with fresh cilantro and served it with fixins and charro beans!

This is an easy and quick recipe that is a different twist on Stuffed shells and my family loves it. I have included the link for the video I used for this recipe below because she gives great tips on how to freeze it. Give this meal a try and make two so you can freeze one for later because you WILL want to eat it again!

Love Ricki

Easy Garlic Lemon Trout

So I did an Instagram live a few weeks back where I showed how I made my trout for an easy light dinner and I got so many messages asking for a recipe! So I decided to make it again (and my family definitely didn’t mind) and write a blog post. I initially started eating trout by mistake, I thought I had bought salmon (#seasonedwomanproblems) but it turns out we prefer trout because it is lighter in taste and less fishy. You can definitely use this recipe with salmon tho!

Ingredients:

Trout

Olive oil (or whatever oil you prefer)

Butter (I use salted)

Lemon juice or fresh lemons

2-3 garlic cloves or minced garlic from the jar

Seasonings of your choice: I used Tony Cacheres, montreal chicken seasoning, garlic powder, New Orleans style seafood (from Dollar Tree, if you see it, get it!), and garlic salt

Directions:

Pour about 2-3 tablespoons of oil all over the fish and rub in.

Season fish with seasonings (1/2 tsp to 1 tsp of each seasoning) of choice and rub into the fish along with minced garlic.

Cut lemon and pour juice over the fish. Make sure you get all you can out that lemon. Tip: you can either roll a lemon with your hand a few times to warm it up or place it in the microwave for about 10-15 secs and you will be able to squeeze more juice out.

Cut up butter I used about 3/4 a stick and place pats of butter all over the fish. Also take a lemon and cut up in slices and place on the fish.

Put in oven on 400 degrees for about 15-20 minutes then turn on the broiler and broil fish for about 2-3 minutes (Don’t leave watch closely so you don’t burn it!) When it comes out the oven you may notice some black specs don’t worry that’s just the butter it’s perfectly normal.

Your fish should look like this!

Serve with a starch (we like roasted red potatoes or rice) and a salad or green beans! When I’m on my Keto diet I will just eat it with a salad.

Hope you enjoy and if you try it please let me know!!!

Love Ricki