
 Recently I asked my Instagram peeps what recipes they need to make their lives easier in the kitchen as we return back to our regular routines. Summer is over (insert sad face here) and although it wasn’t the summer we could have hoped for hopefully we still got some fun in. Now it’s back to school and work for some. It’s different because usually this time of year is the start of a lot of extracurricular activities and fall fun but with this virus we don’t have those options. I pray though that everyone is healthy, well and happy in spite of. Food & cooking is always something that brings me joy so maybe I can spread some by sharing delicious & easy recipes. The consensus from my question was easy recipes that are not time consuming. Those include crockpot, instant pot (pressure cooker), sheet pan, one pot and casserole recipes. I plan to bring one or two to the blog every week with corresponding videos on instagram (follow me @severalpeoplesmama) and a few additional recipes I’ll be writing up for volume 2 of Cook Yo Meals which will be out in a few months!
Today I am sharing my version a crockpot meal that I’ve been wanting to try for awhile along with an easy tasty side dish. Slow Cooker Tuscan Chicken is soooo good and even tho it requires a little more work than the normal dump and go crockpot recipes we’re used to, it is worth the extra effort! Let’s cook!


Ingredients for Tuscan Chicken:
- 3-5 cloves of fresh garlic minced or 2-3 tablespoons of Jared minced garlic (y’all know how I feel about the jar of minced garlic, however since this cooks in the crockpot for a few hours this would be an exception to use it, I still didn’t but you can)
- 1-2 tbsp of butter
- 1-2 tbsp of olive oil
- 1 bag of fresh spinach
- 8-10 skinless bone in chicken thighs (you can use boneless but the bones add great flavor which is needed in a crockpot recipe)
- 1-2 cups of chicken broth
- 2-3 cups of half and half (can use a cup of heavy whipping cream with milk or chicken broth)
- 1/4 cup of grated Parmesan cheese (and more if you like it cheesier but I wasn’t going for an Alfredo sauce, just a taste of Parmesan)
- 1/4 cup of sun dried tomatoes chopped (I used the jar in oil)
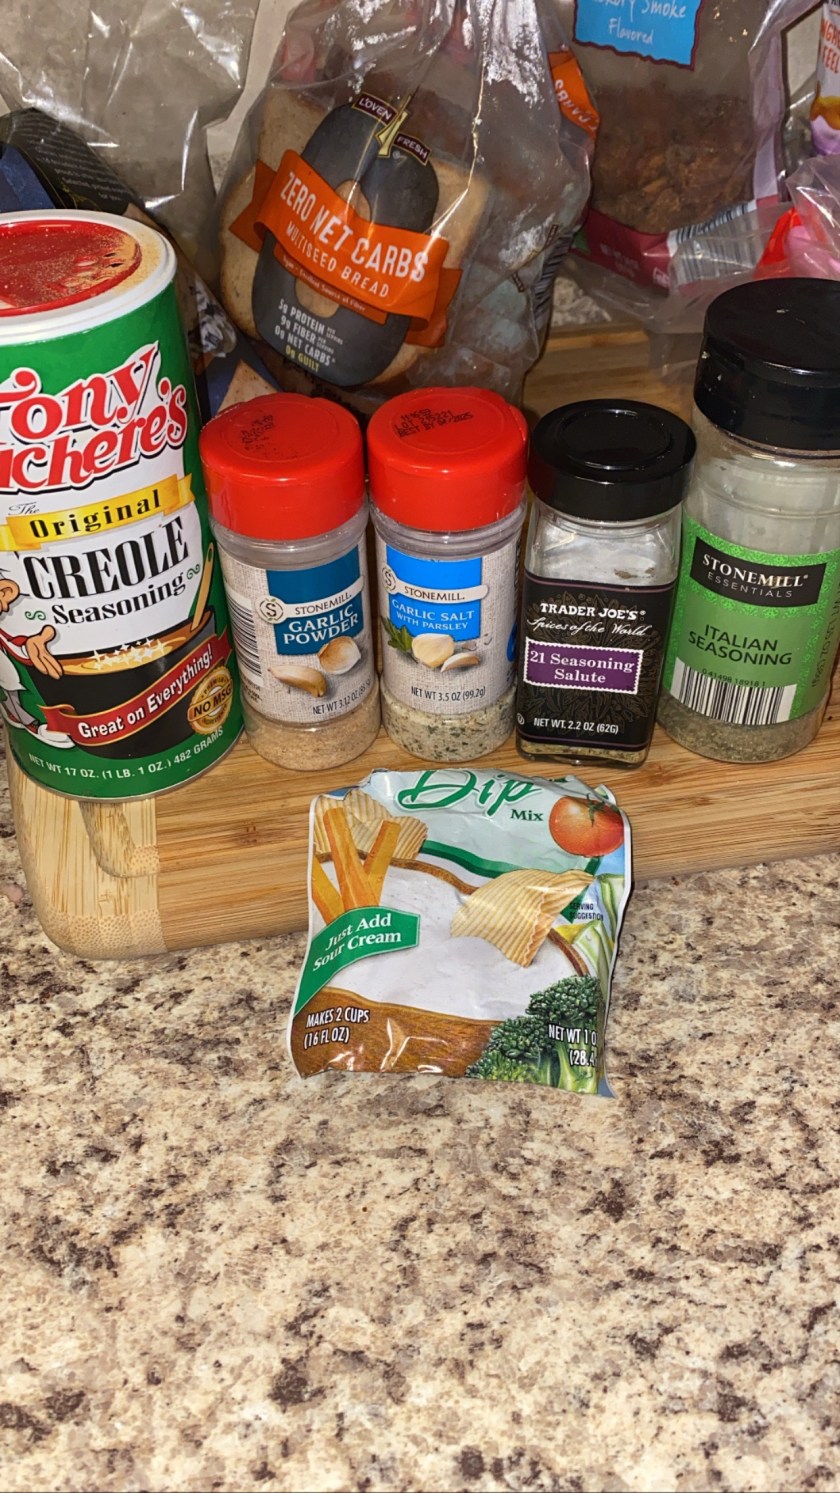
- Various seasonings, I used what was pictured
- Fresh basil chopped (optional but makes a difference!
- Juice from half a lemon (optional)
Directions:
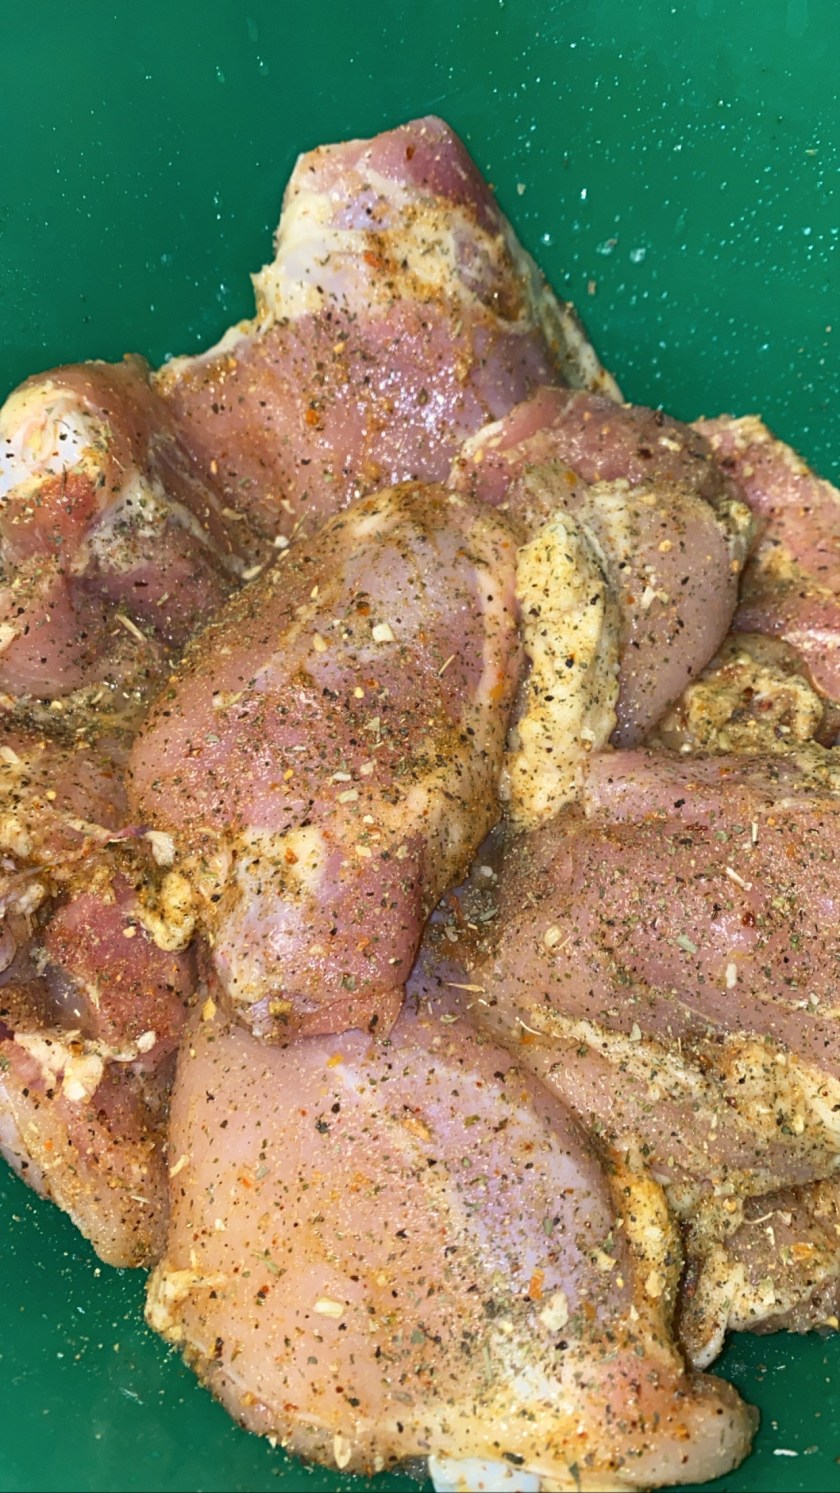
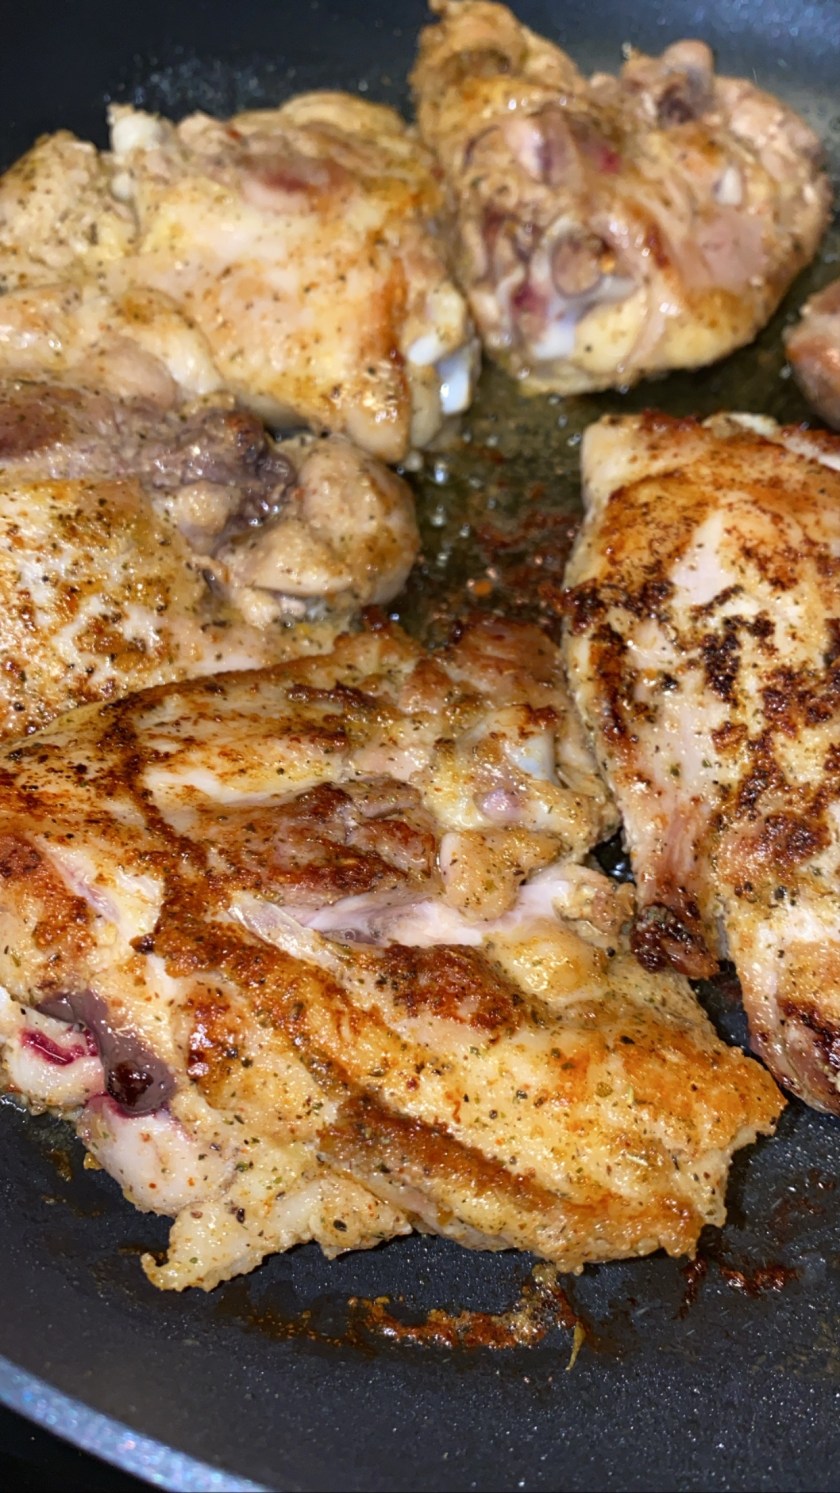
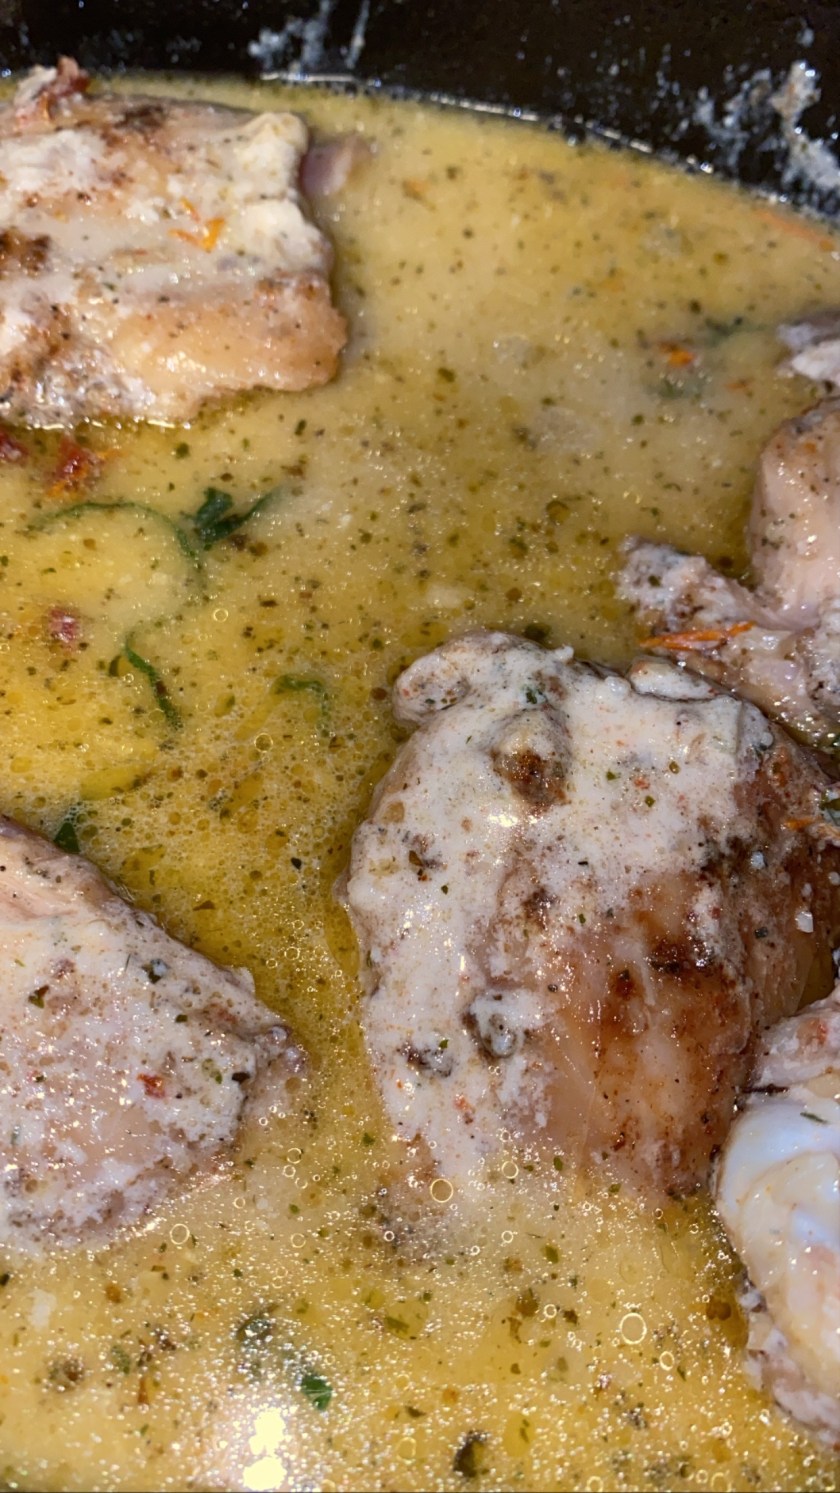
Start by adding a tablespoon of butter and the olive oil to a non stick pan on medium high heat. Then season chicken thighs generously. Remember this will cook in a sauce and chicken broth in the slow cooker for a few hours so you still want to taste the seasoning. Add chicken thighs to pan and sear about 3-5 minutes each side. Side note: in most of the recipes I researched they did not sear the chicken. Not searing the chicken is not something I recommend but it’s not necessary. However searing the chicken adds a deep flavor that you would define miss if you didn’t. After chicken has seared, add to your sprayed slow cooker insert. After all chicken has seared it’s time to make the sauce. Turn heat to medium. Pour out all but a tablespoon of oil for the pan. Add another tablespoon of butter. Add garlic stirring quickly, we don’t want it to burn. Sauté for about 20 seconds and then add half and half. Stir until heated thru. Add seasonings to taste and then add sun dried tomatoes, Parmesan cheese and lemon juice. Taste for any additional seasoning and let simmer for 23 minutes. Turn off heat and allow sauce to thicken as it cools. Once thicken led (should coat the back of a spoon easily) pour sauce over thighs in slow cooker. Add 2-3 cups of chicken broth to slow cooker and mix in. You want the sauce and chicken broth mixture to almost cover the thighs. Cook on low for 4-6 hours. Towards last 20 minutes turn slow cooker to high and add fresh spinach til wilted and also half and half if you’d like the sauce thicker. Make sure you taste to see if you’d like anymore seasoning but you should be good. Once spinach is wilted you are ready to serve over the orzo.


Ingredients for Garlic Lemon Orzo:
- 1-1/2 cups of orzo
- 2 cups chicken broth/water (I used 2 cups broth and the rest water)
- 1-2 cloves of fresh minced garlic (no jar! Lol)
- Juice from 1 lemon
- 1 tbsp of butter
- 2 tbsp of olive oil
- Garlic salt and Italian seasoning, fresh basil can be added but it is optional
- 1-2 tbsp of Parmesan cheese (optional)
Directions:
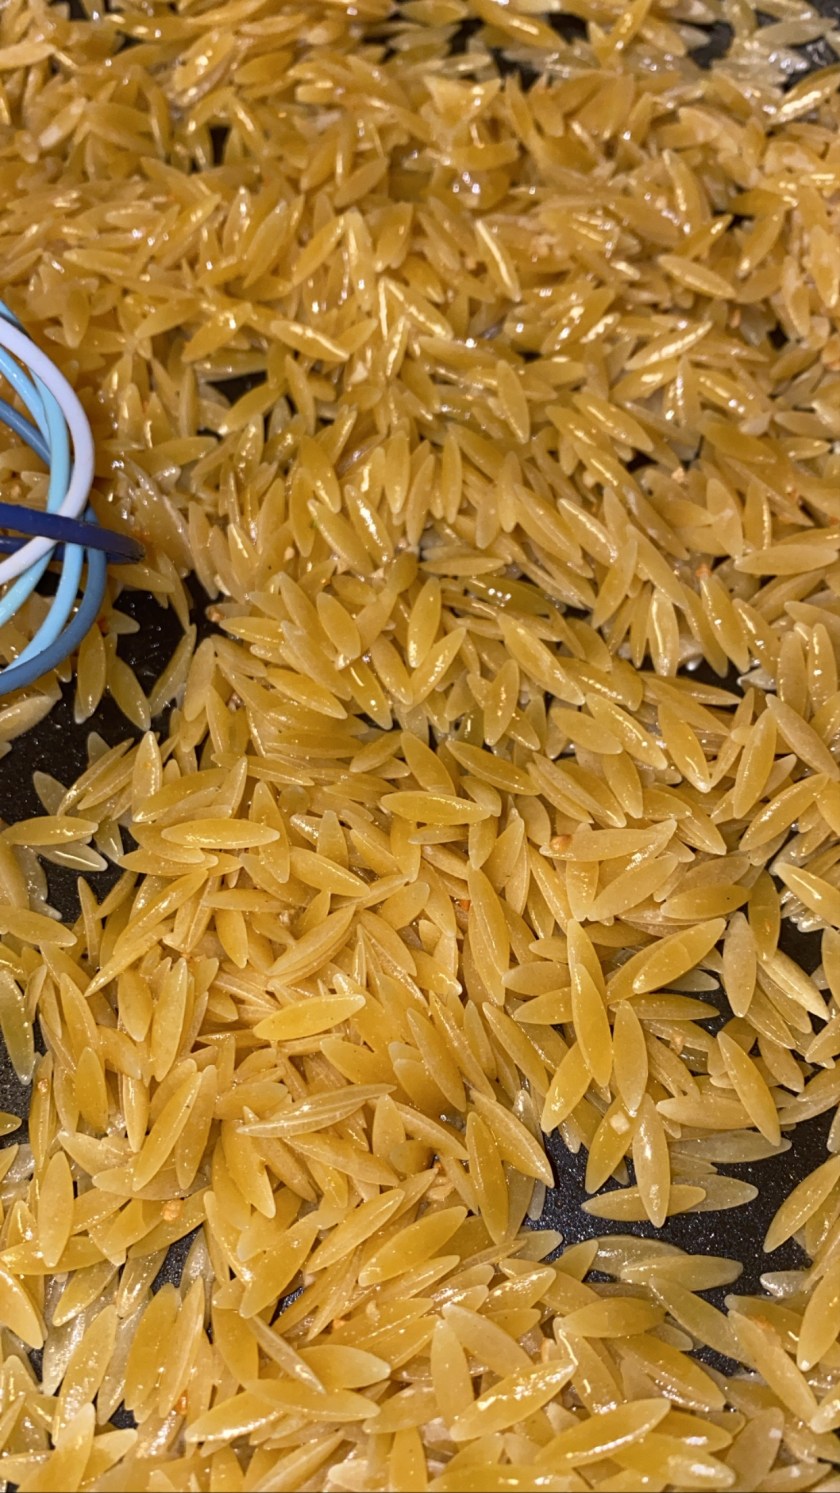
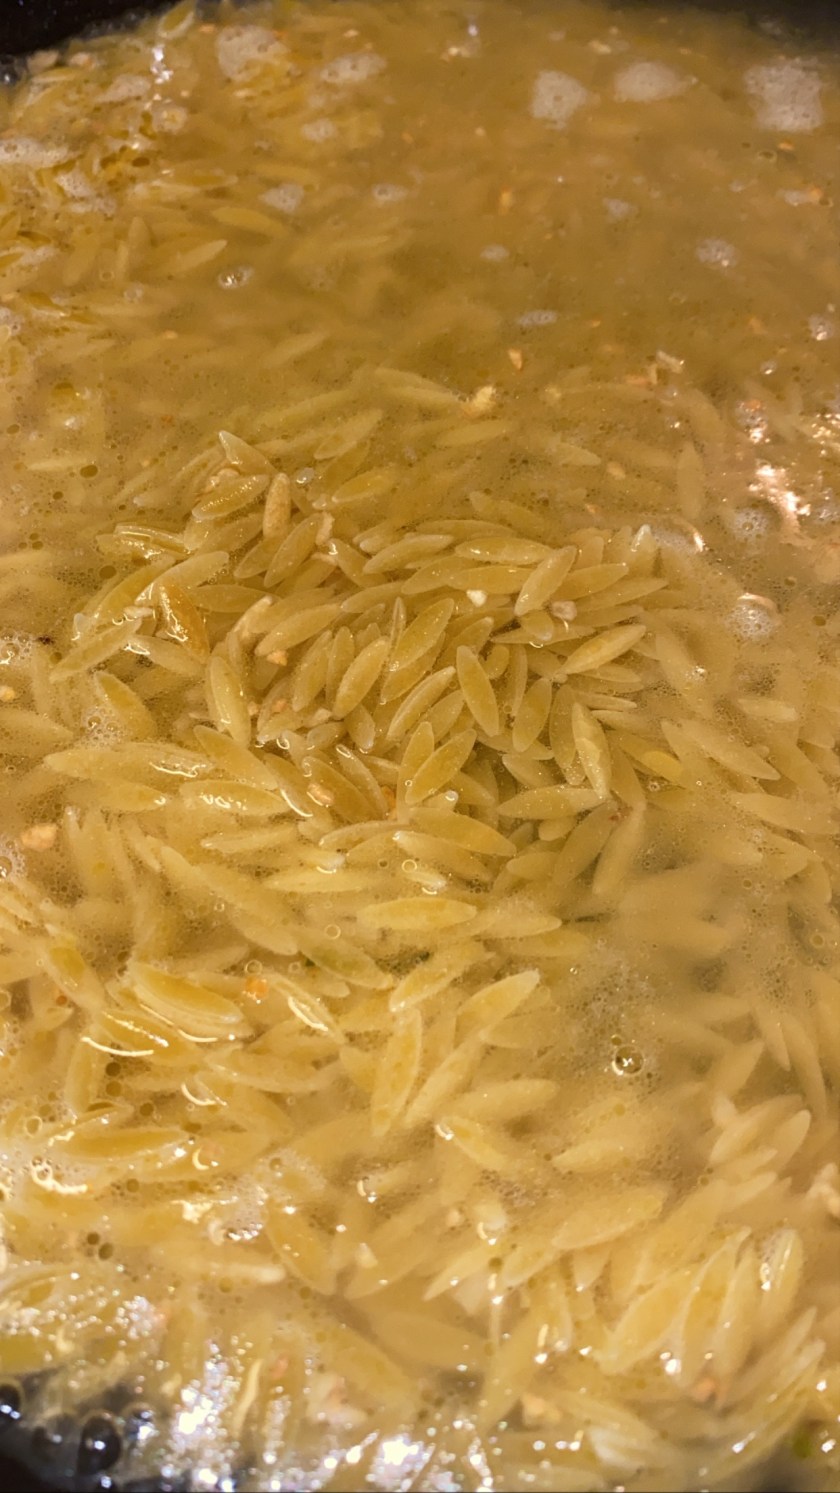
Heat heavy bottom pan or pot on medium high. Add butter and olive oil. Add fresh garlic and sauté for about 20 seconds. Add orzo and sauté for about 2-3 minutes. If you fear burning garlic (like me) add your garlic after your orzo. Add chicken broth and bring to a simmer. Let simmer for about 3-5 minutes and then turn I low until orzo is cooked thru. Add seasonings, lemon juice and Parmesan if using and stir.
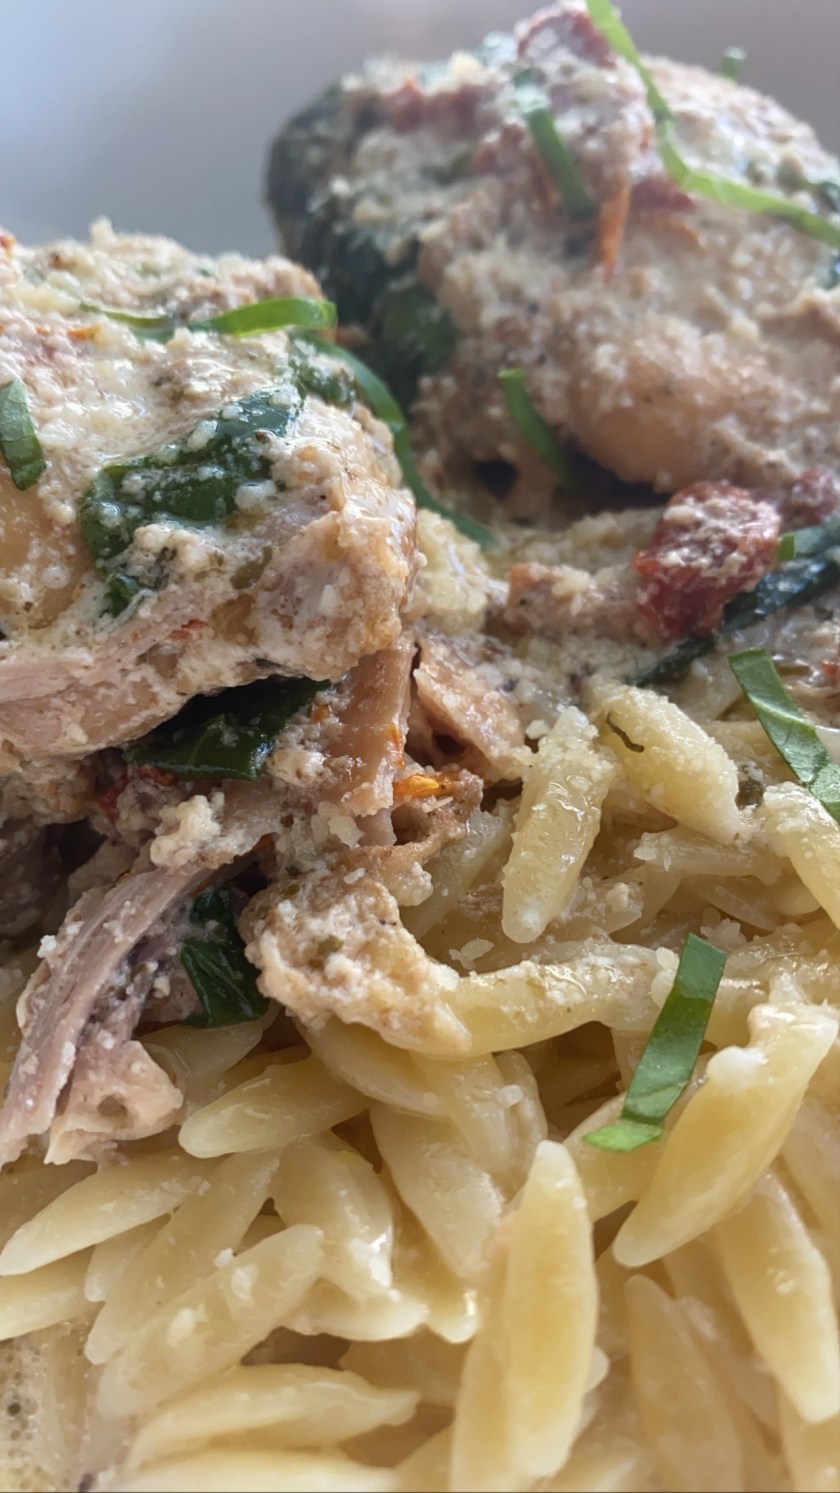
 Add your chicken with sauce over this lemony orzo pasta and you have a complete meal with so much flavor from cooking for hours. Also with the addition of spinach you already have a veggie built in!
The Tuscan Chicken is keto/low carb friendly and you can just add a salad, serve over zucchini noodles or roasted veggies instead of the orzo to keep it that way.
 We enjoyed this meal so much and it is being placed on our dinner rotation as we speak. Because this dish requires a little extra prep time this would be perfect for Sunday dinner and then make extra for an easy Monday of leftovers. If you know me you know I don’t like cooking on Mondays so this is a trick I use often since most folks are off and have a little more time.
Let me know if you tried this recipe and as always tag me on Instagram. In the comments let me know what other recipes or ideas you’d like to see on the blog. I always appreciate and take y’all’s input into consideration!
Love Ricki
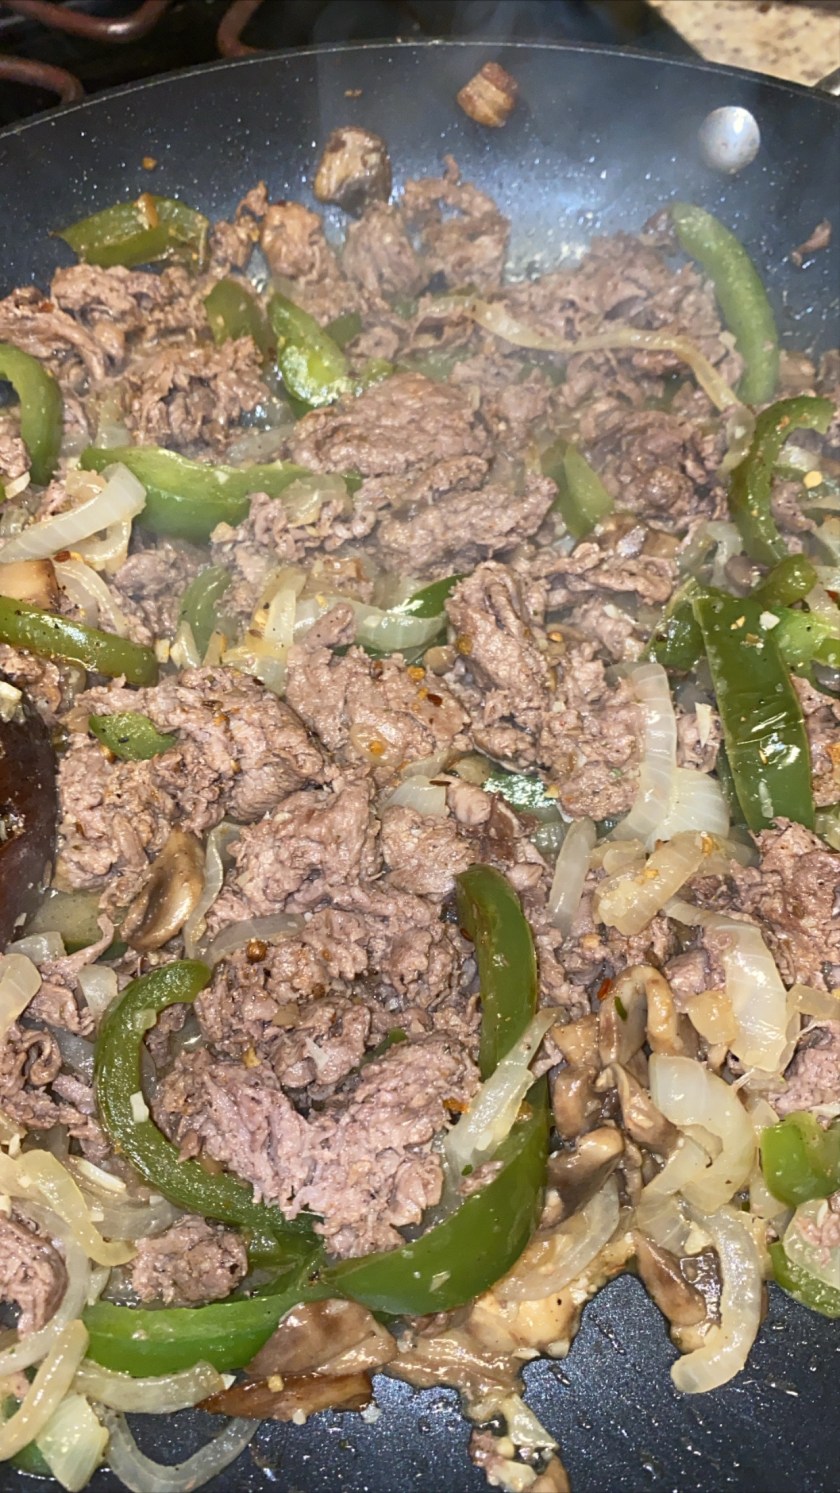
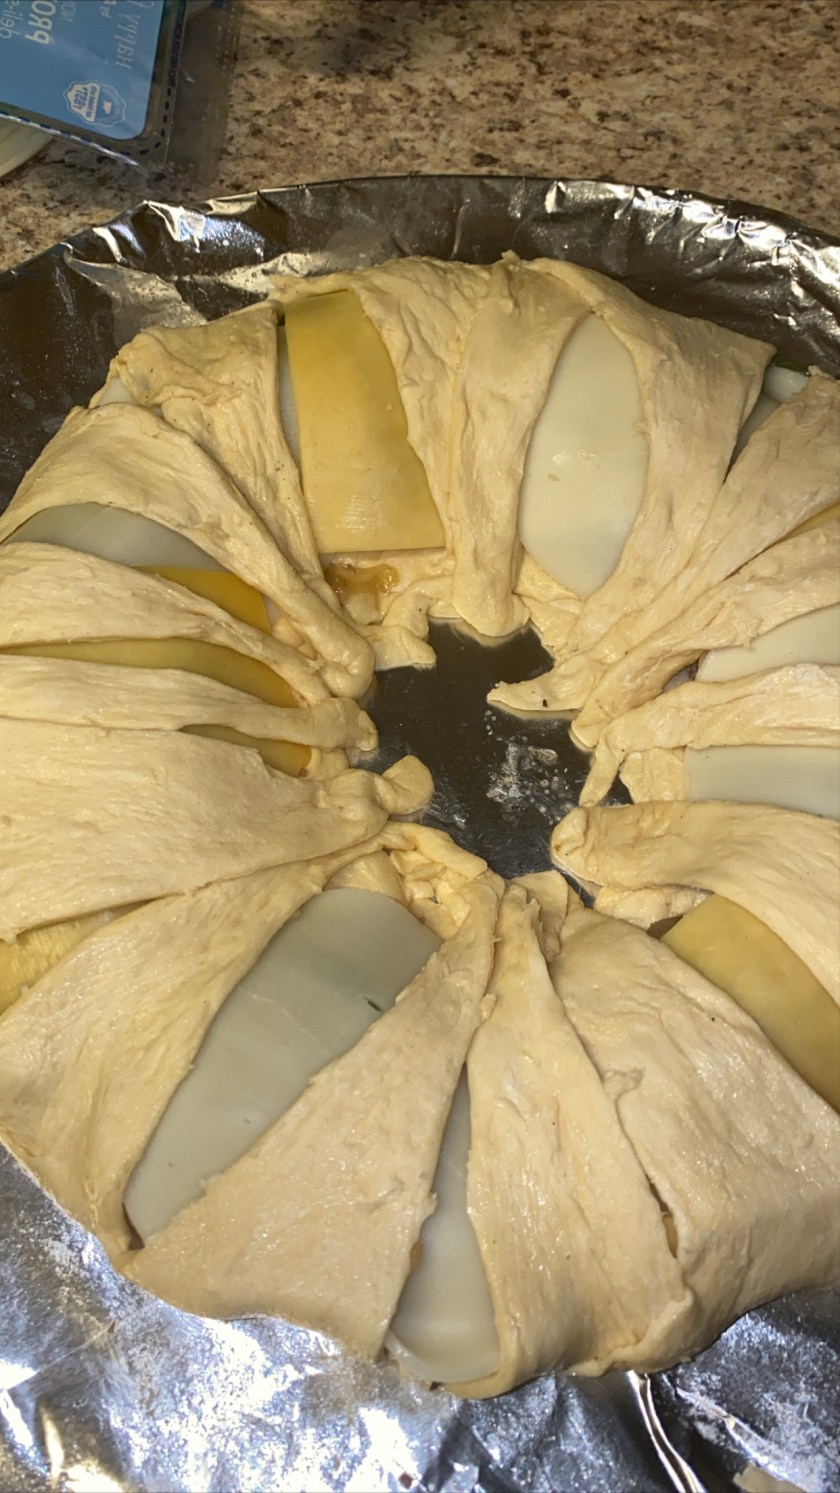
 Hi y’all I am back this week with a not so original recipe but DEFINITELY a fav! Listen we love rings in this household. The crescent roll dough is delicious and easy to work with and you can take just about any filling you can think of and add it for a delicious combination. Of course I’ve made Cheesesteak sliders


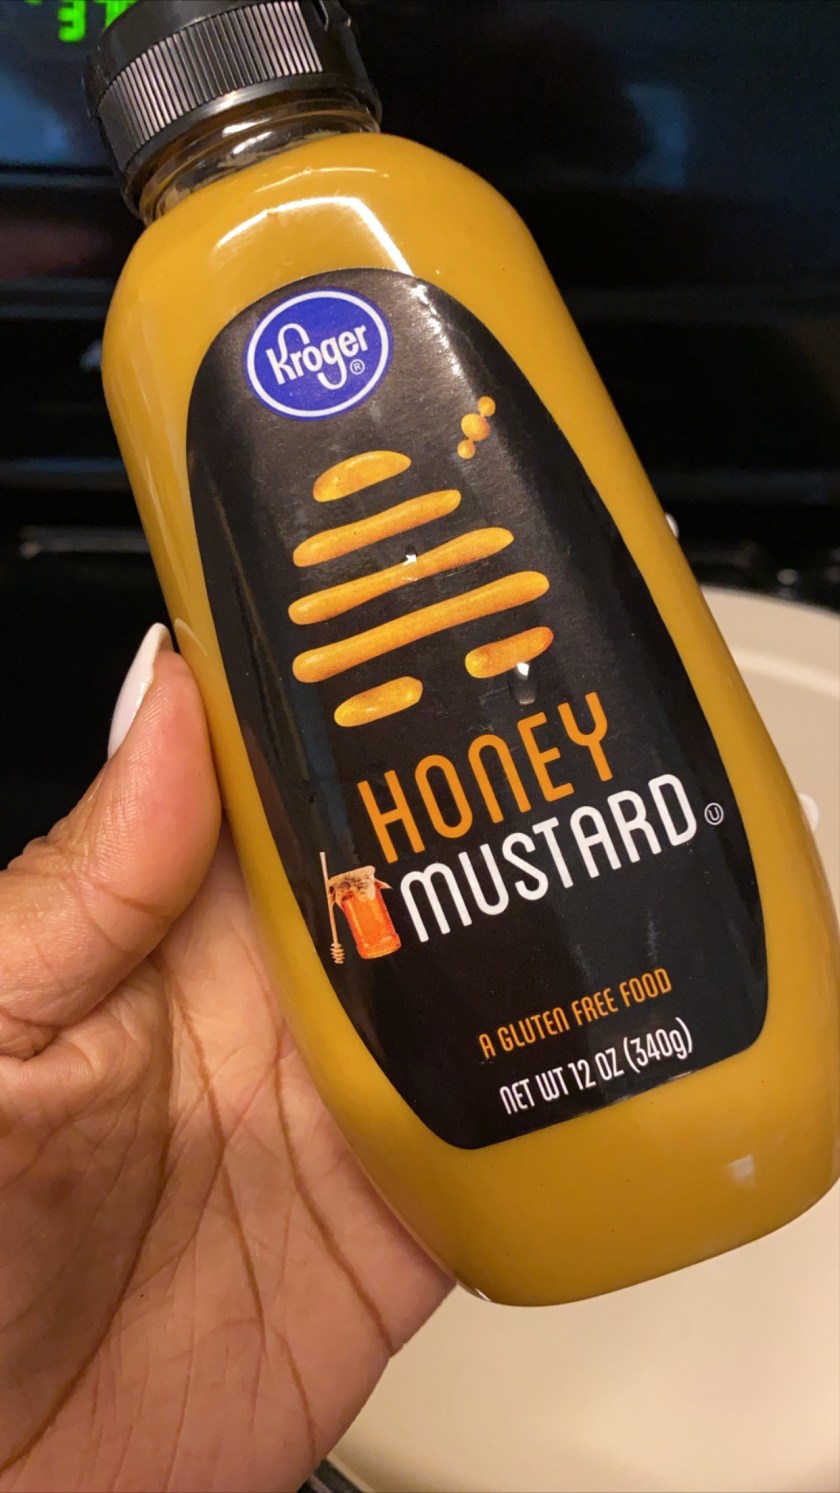
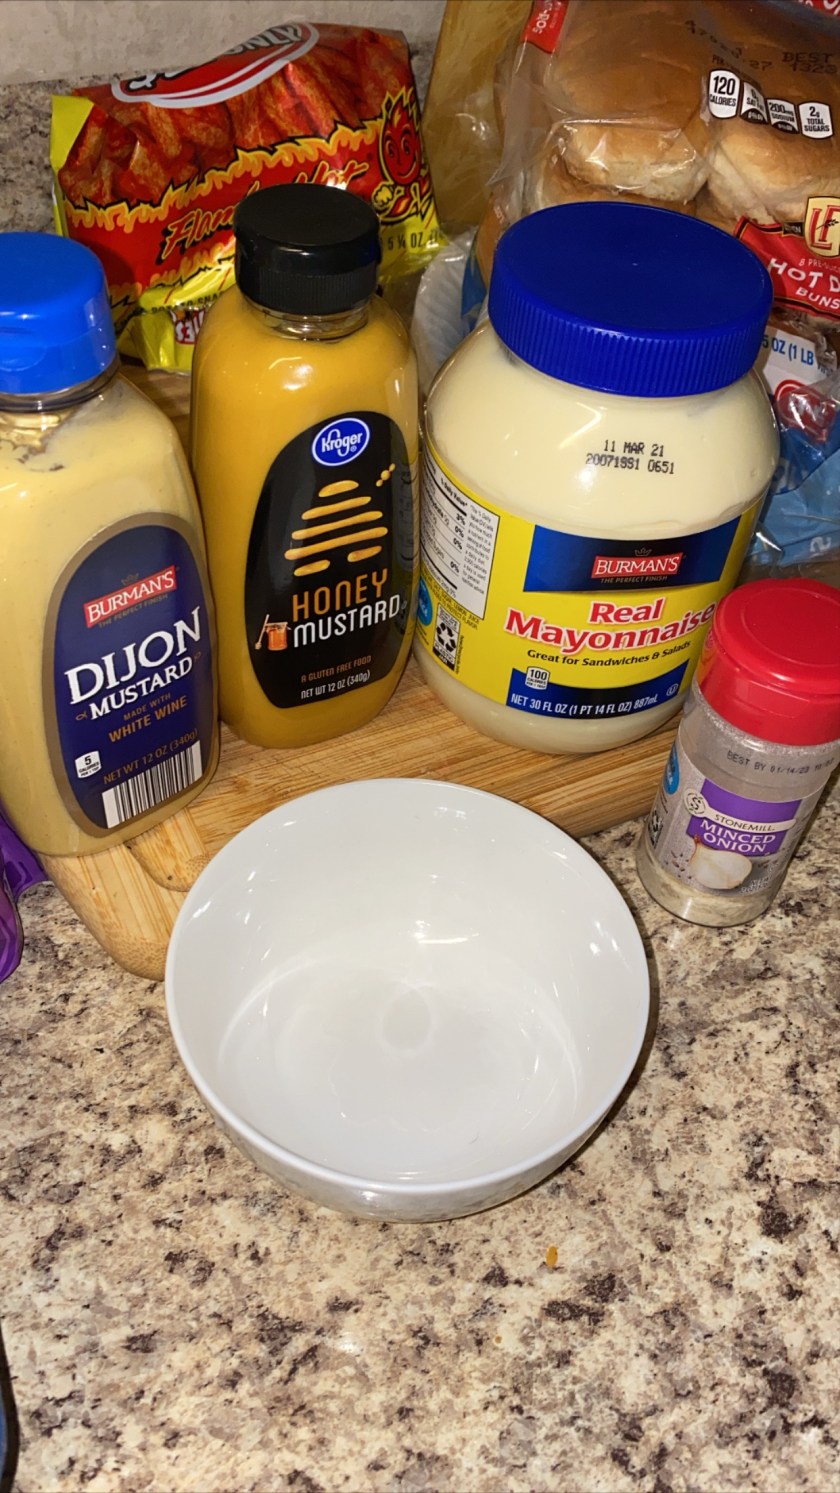
 Confession: I have never actually heard of Alice Spring Chicken before I actually made it. I have never actually ate at Outback Steakhouse either. I stumbled upon this recipe when I was searching Pinterest trying to find something different to do with boneless skinless chicken breast. It seemed like it would be delicious except the mustard part so I decided to adapt it for my family’s taste and make it keto/low carb friendly. We like mustard but only a touch on a sandwich or in our foods. Also the recipes I found called for honey but I decided to use pre made honey mustard (not the dressing) to cut the carbs. We definitely don’t like it to overpower a dish. Here is my version of Alice Spring Chicken.

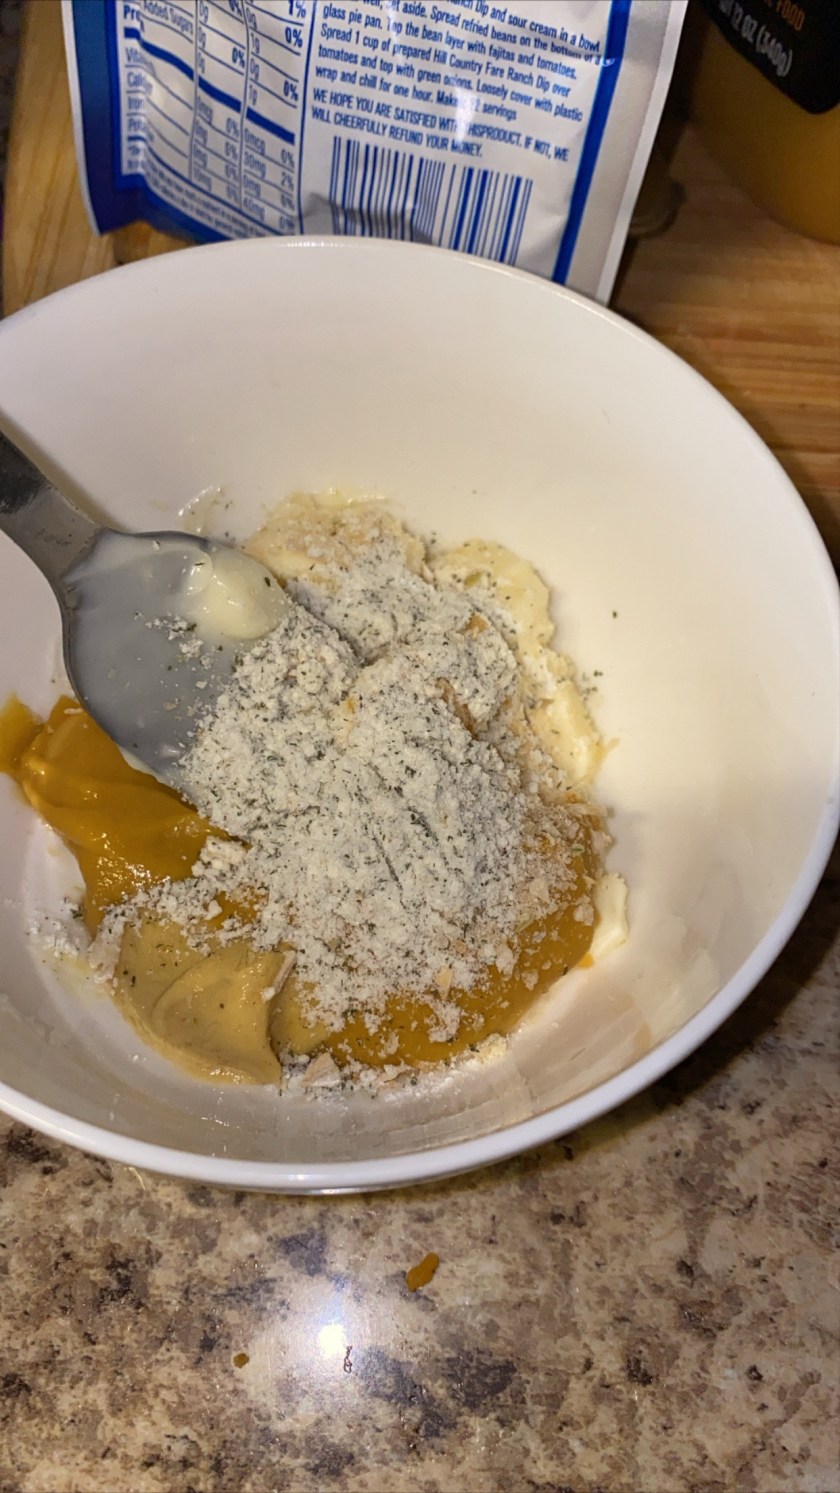


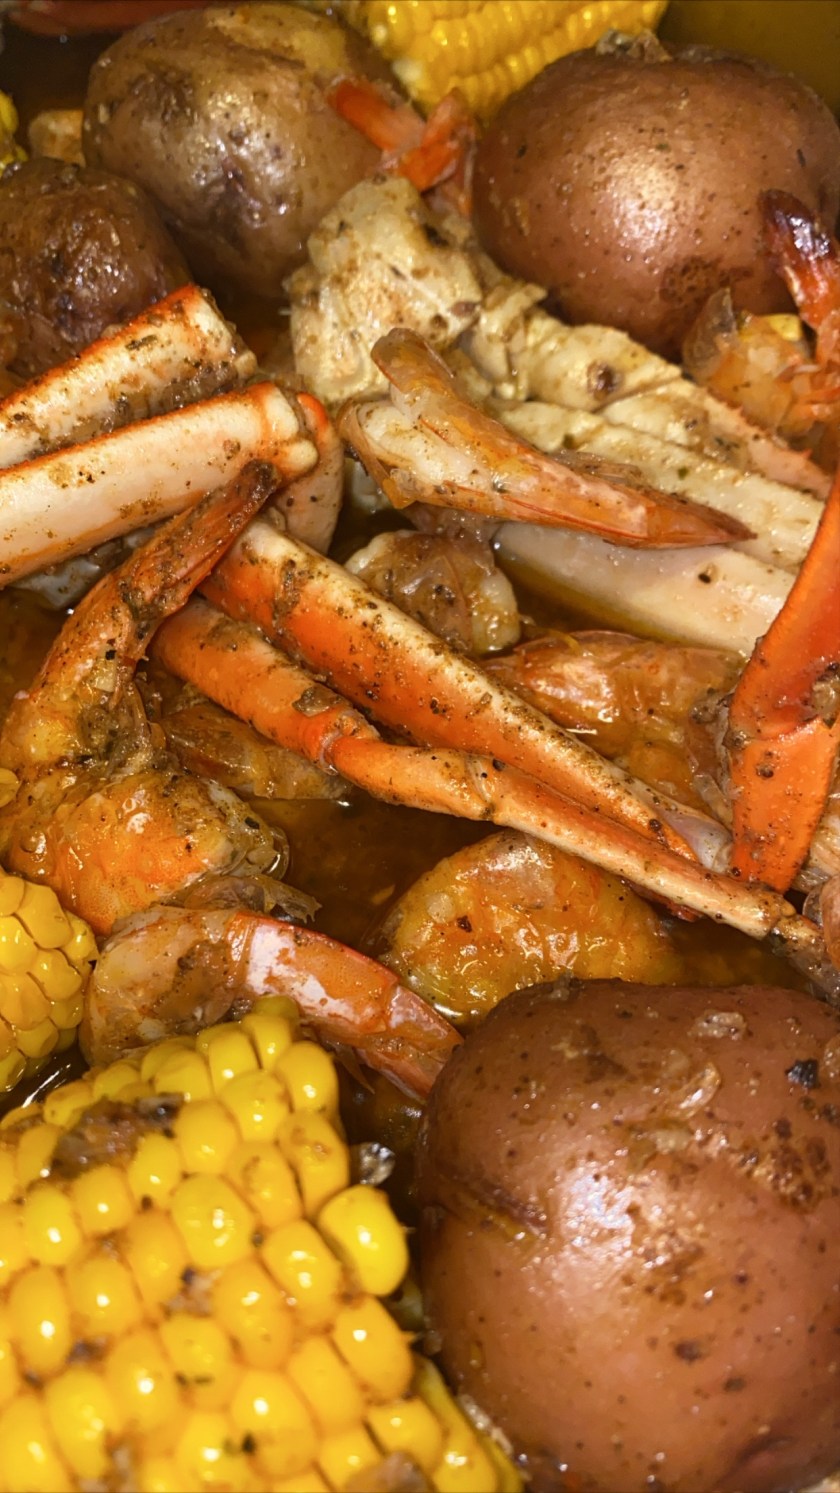 If you don’t already know from looking at my past recipes WE LOVE SEAFOOD! We especially love the spicy savory seafood boils at different restaurants across Houston. But with a family of five eating at these places can get expensive so from researching different recipes I came up with my own version of a seafood boil. EXCEPT I don’t boil the seafood lol. I actually steam it in an oven bag you would use for turkeys in the oven. This seafood steams and the flavors get infused which tastes much better to us than boiling it and letting it sit and water where sometimes the flavor gets diluted. After many requests for the recipe I figured I better write this down and share on the blog so everyone would have one point of reference. So let’s make a seafood boil!
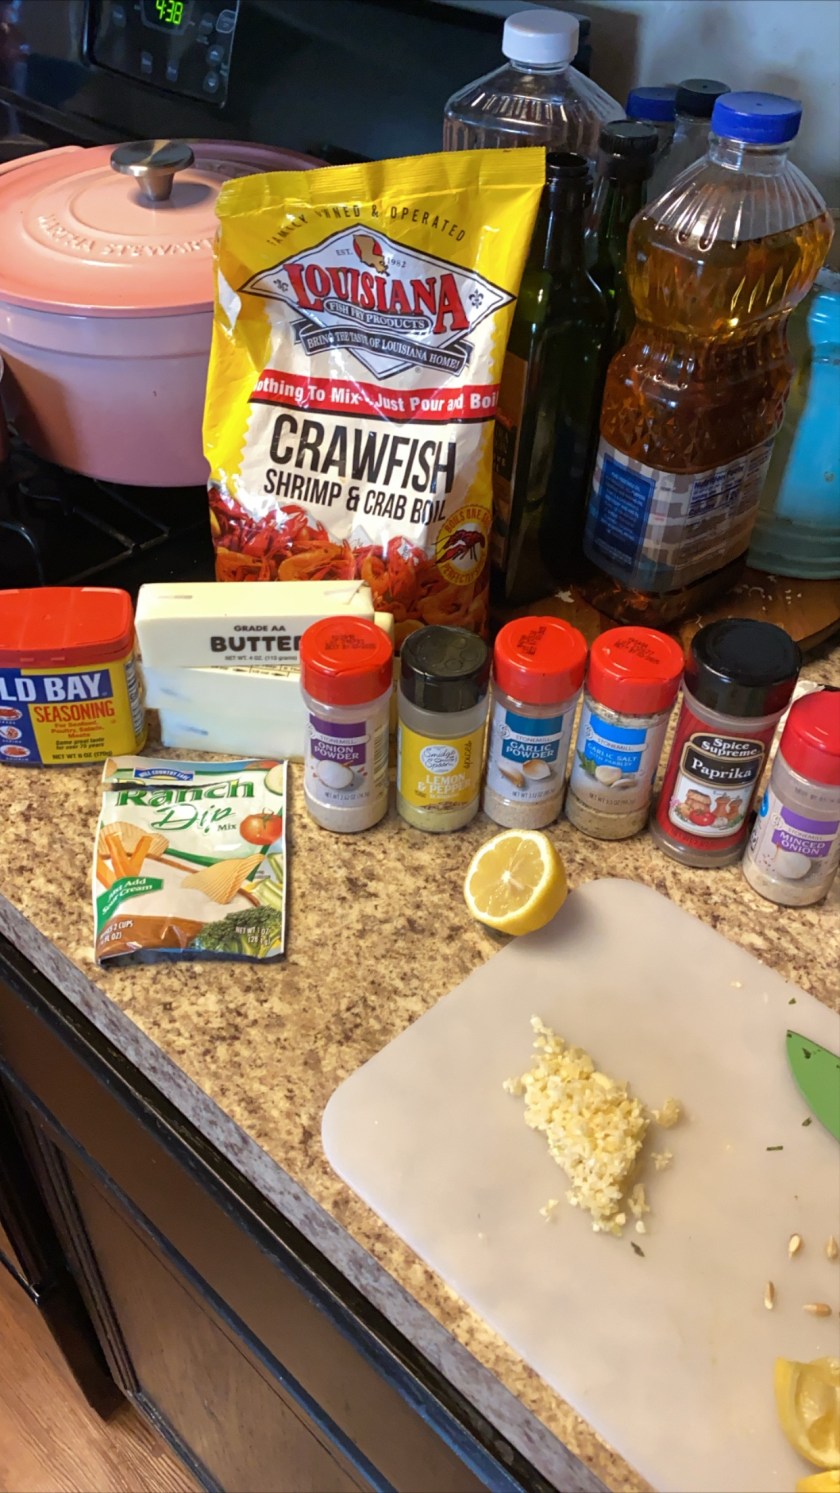


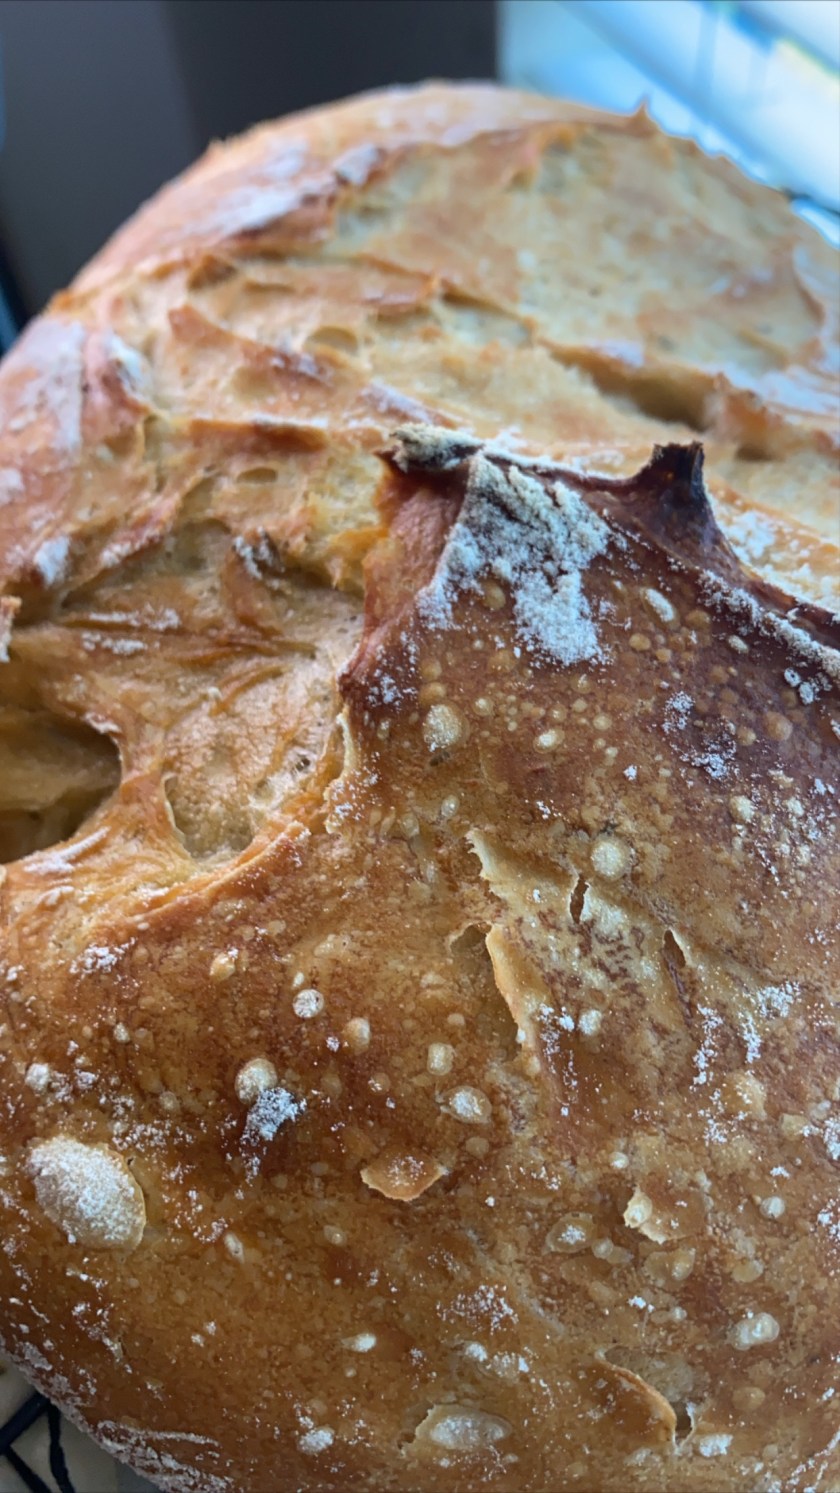 Hi y’all! This past weekend I purchased one of the items on my cook’s wish list – an cast iron enameled pot or Dutch oven. Of course I wanted the Le Creuset and one day I will have it but for now my new pot by Martha Stewart works just fine. And it’s pink! You can find the pot I purchased
  Directions:
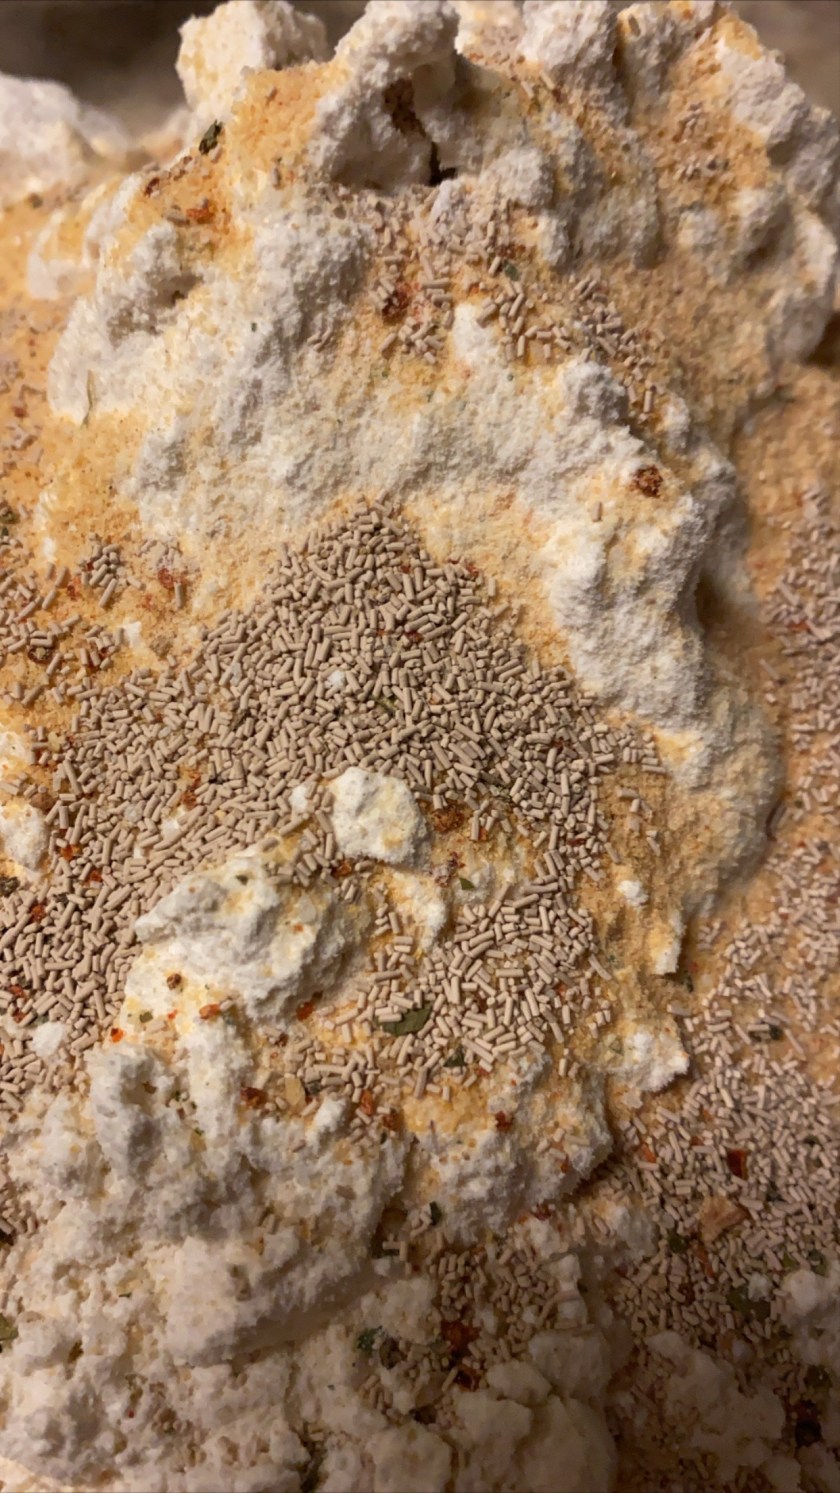


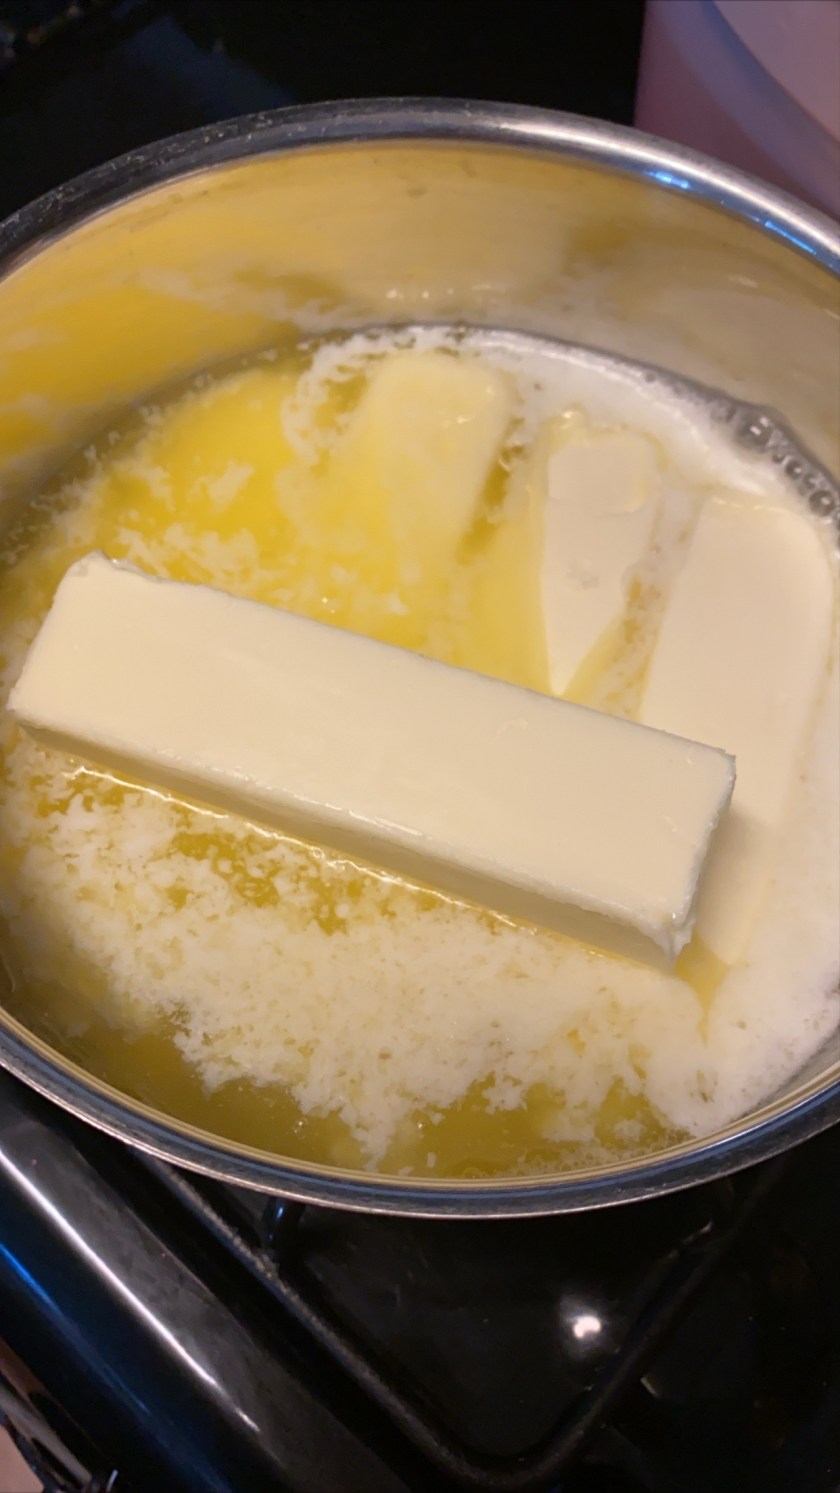
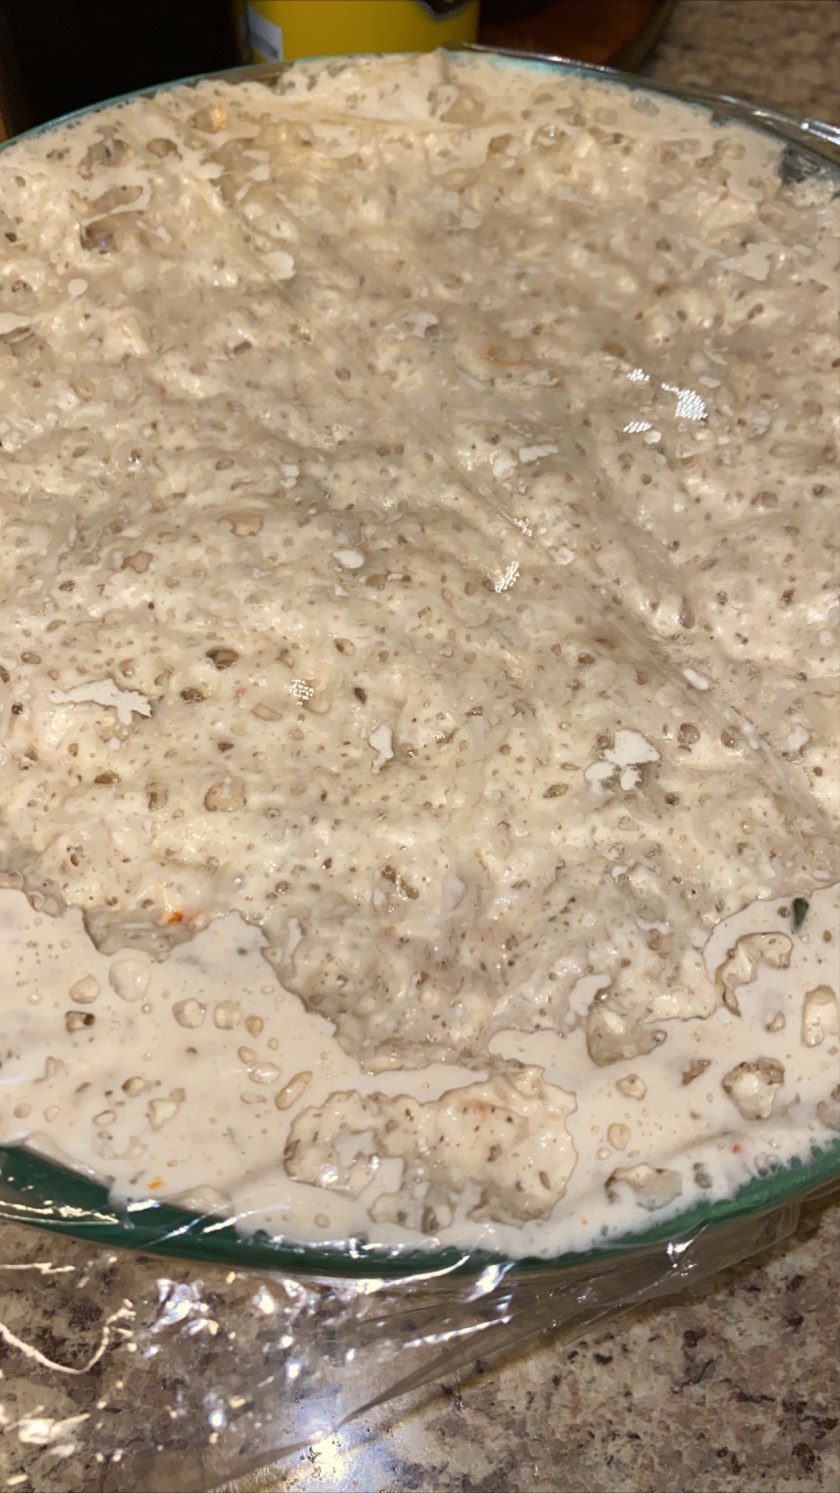 Serve with butter and enjoy! We made a garlic compound butter which you can get the recipe
 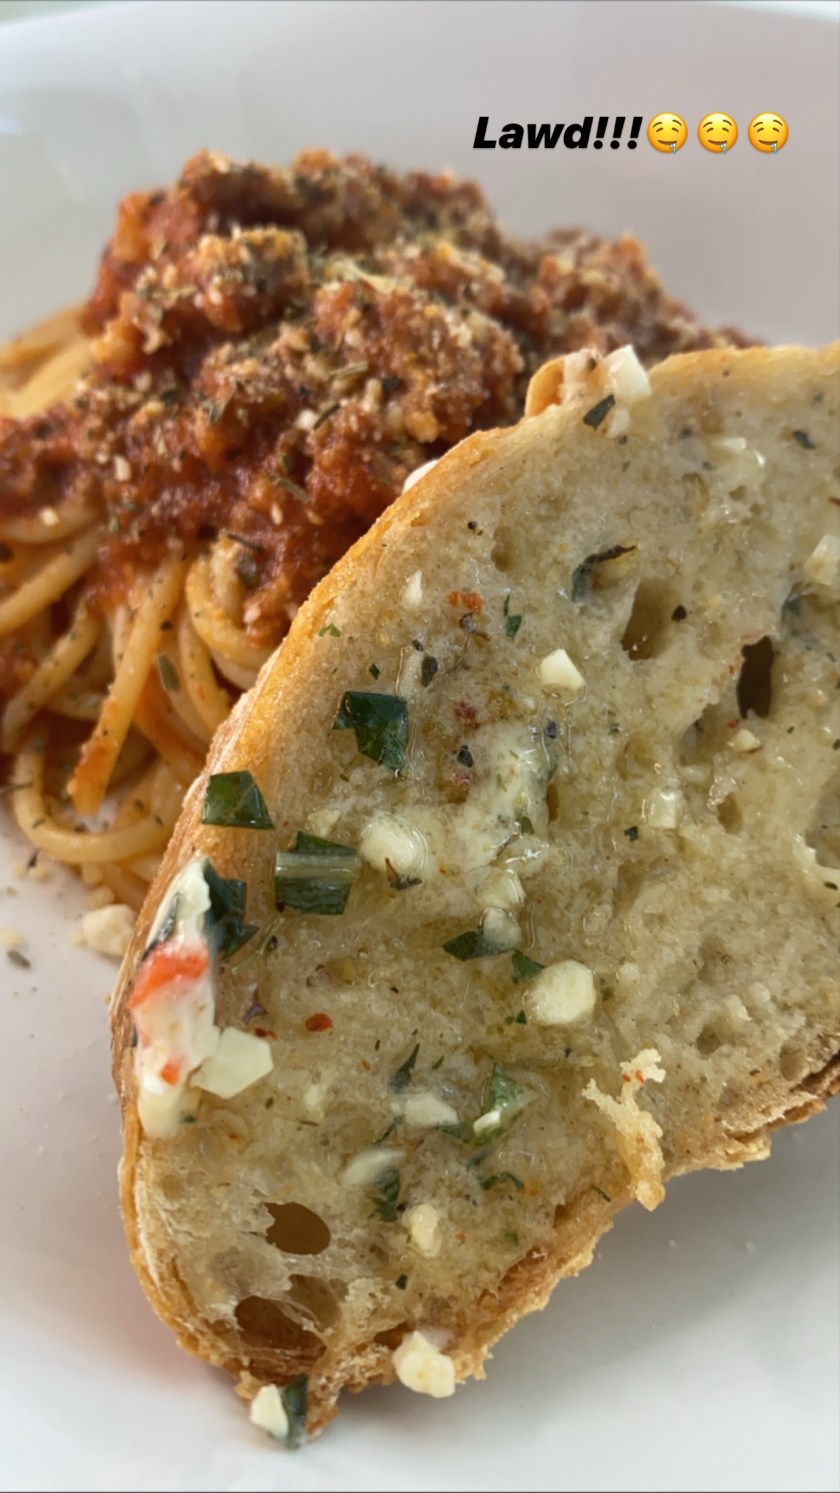 This bread was so easy to make, I can ALMOST promise you won’t be able to mess it up! If you make it please tag me on IG @severalpeoplesmama
