
 I don’t understand why people have to be rebels and not get with the program. Meal planning is where it’s at!!! *Insert clapping hands* It saves time, money and it’s waayyyyy less stressful than standing in front of the refrigerator and squinting and frowning because you don’t know what the hell you’re going to make for dinner! Plus you’ll have less wrinkles. BUT I know it isn’t for everyone so that’s why I am writing this post. Some people just like to live on the edge and they can afford botox so meal planning is not a top priority. However, I want to show you how you can meal plan even if you don’t like it and I also included some meal ideas for when you are stumped on what to make. So here are my tips:
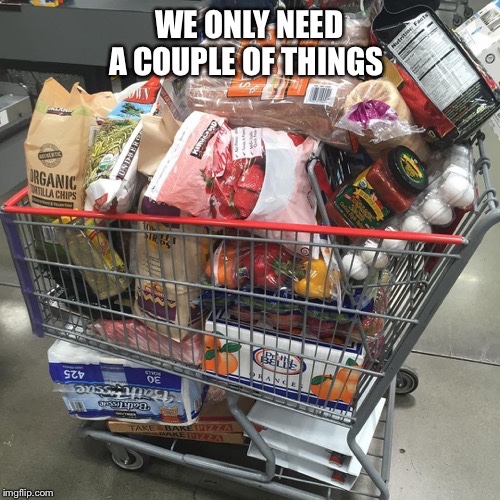
- Keep a stocked pantry/fridge/freezer. To be able to cook meals on the fly you have to have inventory. Make sure you have the basics you need to make simple recipes and your favorite recipes. This way you are always able to make the process of choosing what to have for dinner easy.
- Make your own recipe book. It doesn’t have to be fancy. You can get a notebook from the dollar tree and write down every recipe you ever made or want to make. Or you can just keep a master list in your phone. Or dedicate a board on Pinterest. The key is to have a list that you can refer to when trying to come up with an idea of what to make for dinner. And even if you DO like to meal plan you should have a list of recipes to refer to when planning out your meals for the weeks anyway.
- Assign a theme to every night. Sunday – Soul food Sunday, Monday – meatless Monday, Tuesday – Taco Tuesday, Wednesday – Italian Night, and on and on. You assign it based on what your family usually likes. That way at least you have an idea to start with on what to make. For example for Taco Tuesdays you can make tacos, nachos, enchiladas, chimichangas etc.
- Have a Fend for Yourself (FFY) night or nights – I actually include this in my meal plan but it’s an easy idea that everyone should follow. This actually doesn’t involve eating out. It means you get the night off from cooking and everyone figures it out. I have older children and no husband so this is pretty easy for me but this can be done with smaller kids by buying their favorite lunchables and snacks & fruit and letting them eat it for dinner. I promise YOU WON’T GO TO JAIL FOR FEEDING YOUR KIDS SNACKS FOR DINNER! I mean just don’t do it everyday, Or do. I won’t tell anyone. Little kids are usually snack lovers anyway so in my opinion it’s a win/win for everyone. And as far as the husbands, since I no longer have one I probably am not the best person to follow advice from but I’m pretty sure they can figure it out too. I’m just saying! *shrugs shoulders*
- My final tip is utilize the internets. Google is your friend. So is Pinterest. And blogs like this one. If you have some ingredients on hand and you are not sure what to make, put it in a search and see what recipes you can come up with. I will warn you though this is truly living on the edge because you may not like what you try but then again you just might. That kind of living raises my blood pressure because I HATE wasting food and my money but if you got it like that…heeyyyyyy.
So those were my tips for meal planning for people that are so against the awesome idea of planning what to eat in advance so they are not stressed and hungry. No judgement from me lol. Below I have listed a few meal ideas for when you THINK there’s nothing to eat in the house. And of course they are all budget friendly. Let me know what you thought of this post and if you meal plan or if you’re a rebel and choose to live life dangerously hungry!
Simple Meal Ideas:
Soup & Sandwich – Can of soup and your favorite sandwich with deli meat or a bowl of Top Ramen with the deli meat or leftover chicken in it.
Quesadillas – Anything can go between two tortillas and some cheese. Beans, meat, veggies, the options are endless.
Baked potato bar – Baked potatoes are super filling and can be plain or topped with whatever you can think of.
Pasta night – You can use any shape pasta you want, any sauce and add any topping and you are even better than Chef Boyardee.
Pizza & Salad – Frozen pizzas (even those cheap ones for a dollar!) and a simple salad can satisfy hunger. Or you can make your own by buying the pre made crusts or using tortillas, bagels, garlic toast or even a slice of bread. Pretend you’re at Mod’s and pile on the toppings, it’s free (kinda).
Love Ricki


 So when I first shared this recipe on my Instagram stories (


