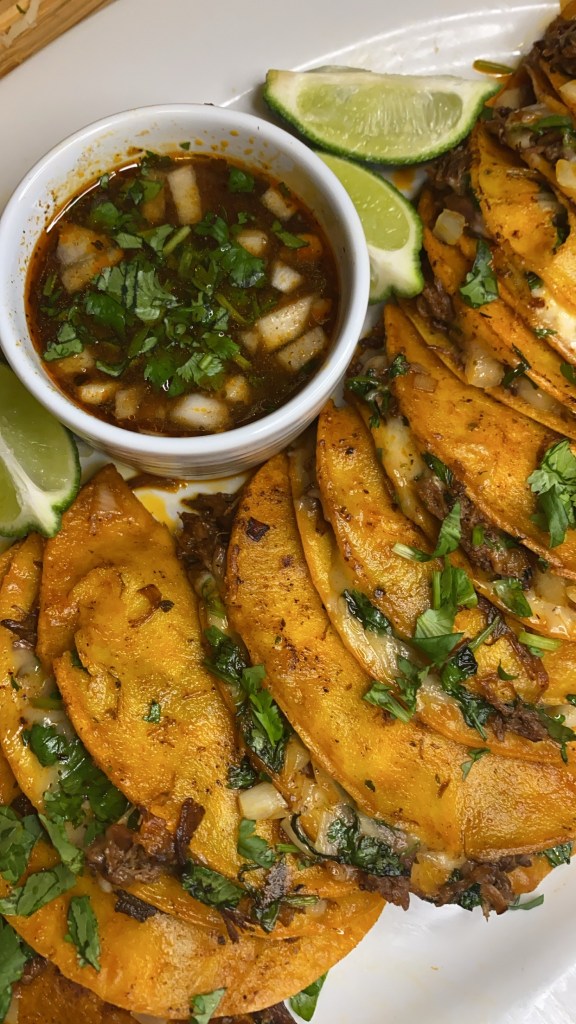

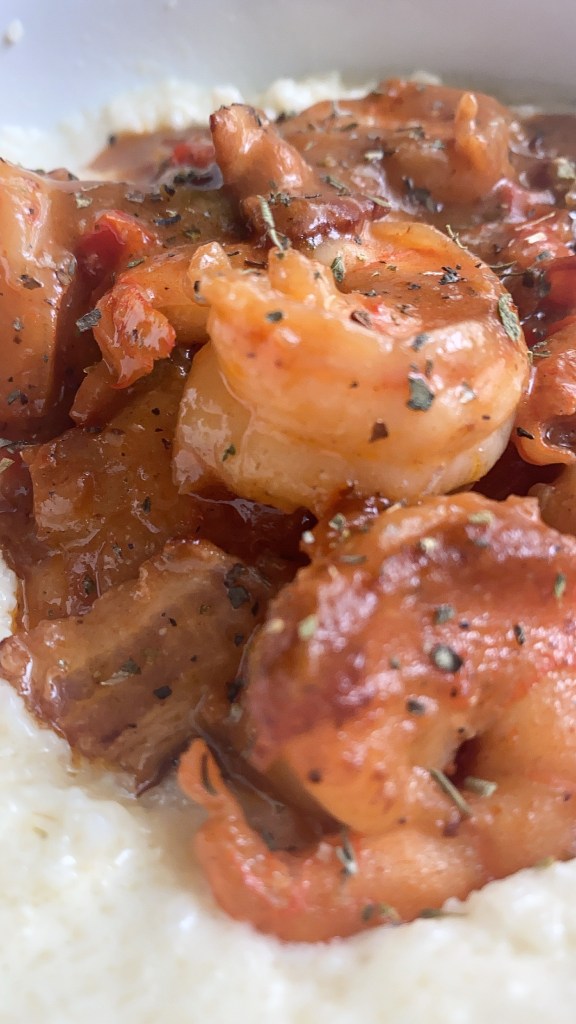
Easter Brunch has been a tradition I started for my family a few years ago. Because Easter is my favorite holiday I have a special dish I prepare usually only at this time of year: Shrimp and Grits. This dish is so good and so easy to make! If you’re invited to my house for brunch you better get there early or you WILL miss out! Here’s the recipe:
Ingredients:
- 1 small to medium onion finely diced
- 1-2 peppers diced, you can use all one color or a combination I used green and red
- 1-2 tbsp of minced garlic (I used a paste found at Aldi)
- 4 slices of bacon diced
- 2 pounds fresh raw shrimp, peeled & deveined
- 1-2 tbsp of olive oil
- 2-3 tbsp of butter
- 2-3 tbsp of flour
- 1 cup chicken broth
- 2-3 tbsp tomato paste
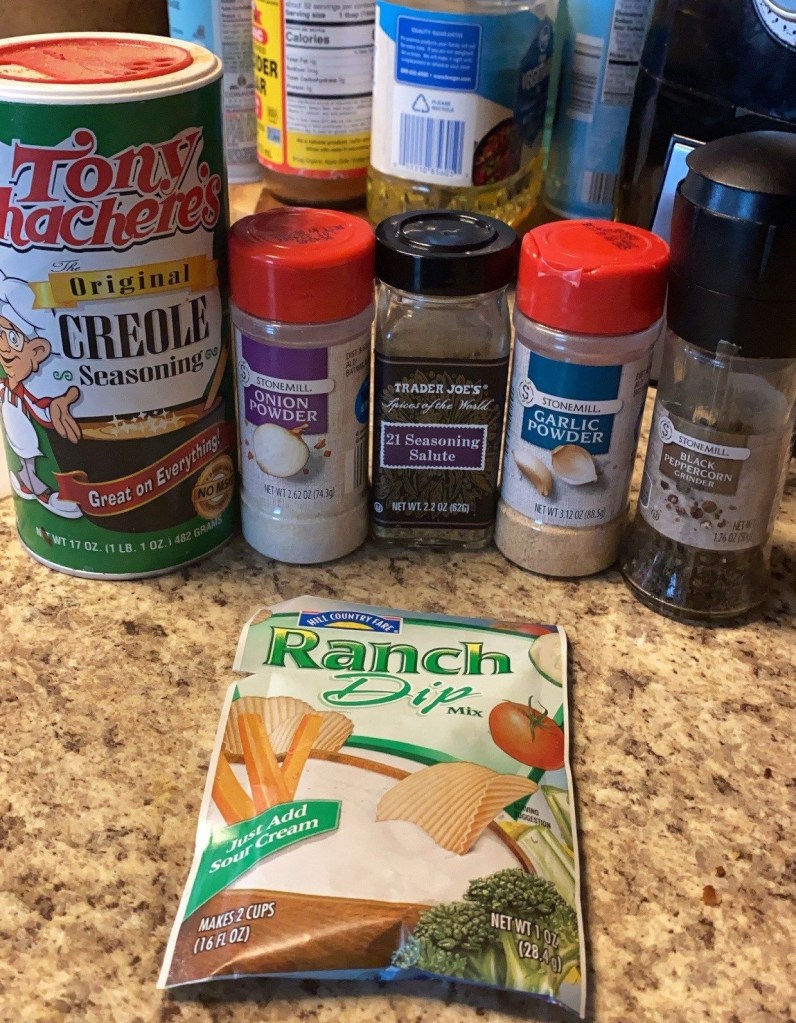
- Seasonings: Tony’s creole seasoning, pepper, cayenne (optional), garlic and onion powder, Italian seasoning & old bay
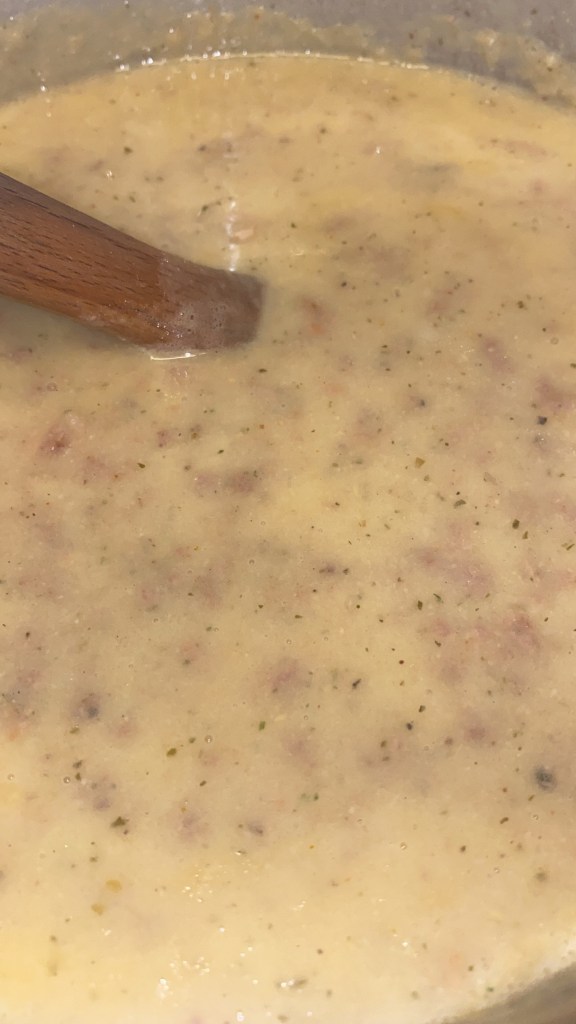
Directions: Season shrimp. Add bacon to sauté pan on medium heat. Cook bacon til crispy, remove from pan to paper towel. Reserve about 1-2 tbsp of bacon grease. Turn heat of to medium high and add seasoned shrimp. Cook about 1-2 minutes on each side until pink. Remove to paper towel with bacon. Add tbsp of olive oil and 1 tbsp of butter then onions and peppers. Sauté til soft. Add garlic and cook for and additional minute. Add another 2 tbsp of olive oil and then flour. Cook for 3-5 minutes, you do not want raw flour! After flour has been absorbed in the veggies, slowly whisk in chicken broth. A gravy should start forming. You can add more chicken broth or water depending on how thick you want your gravy. Stir tomato paste and cook for an additional 2-3 minutes and then add back in shrimp and bacon. Turn heat to medium low. Cook for an additional 2-3 minutes and I taste for seasoning. I add another tbsp of butter to make my gravy creamy and smooth. Serve over grits (see my reels on Instagram for how I make my grits). Enjoy!
This recipe goes fast and is best served immediately so make sure you have your grits ready. If you do create this recipe please be sure to tag me @severalpeoplesmama. I’d love to see it and share!
Love Ricki